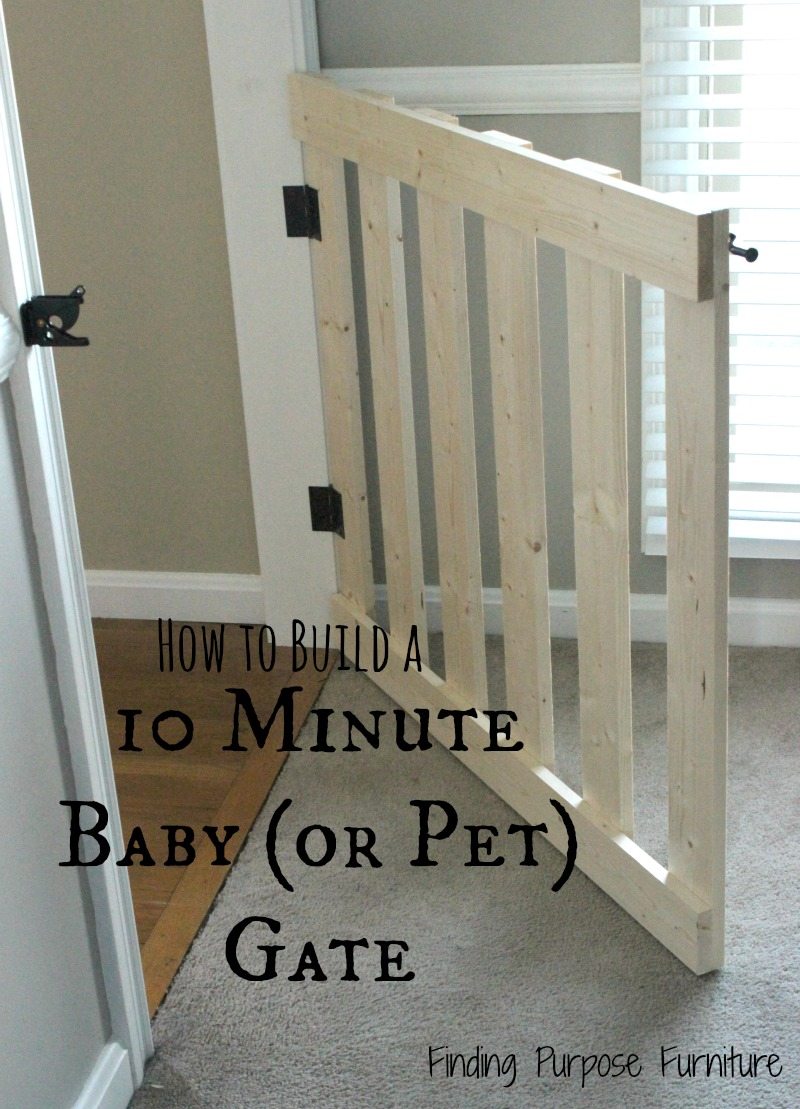
We used our miter saw to cut the pine boards to size. Then we laid everything out and determined the spacing for our slats. (TIP- we used a board length in between because it made for simple measuring…just use a spare to space them out!) I pre-drilled holes for the screws, then used the deck screws to connect. We added hinges and stepped back to admire:

I opted to stain the gates for a more cohesive look with the rest of our house. I had General Finishes Gel Stain left over from staining the pantry door, so that’s what I used.

We built the initial gate and loved it so much that we have now replaced all those old white plastic gates in our home. Even though I don’t love the idea of having gated rooms, the style of these gates make them much more tolerable!

Moment of truth: I still have to stain the two smaller gates. It’s been on my to-do list for a couple of weeks now. It keeps getting bumped by things like looking at Christmas lights, baking cookies, watching Frosty or Rudolph, or crafting with the kids. There is always tomorrow, right?!
UPDATE June 2016:
I’ve had some questions about the hinge and how to install the gate. I’ve taken a couple of close up pictures of the way I attached the hinges. Hope this helps! Please let me know if you have other questions!


To see more: http://www.findingpurposefurniture.com/2015/12/21/10-minute-diy-babypet-gate/

