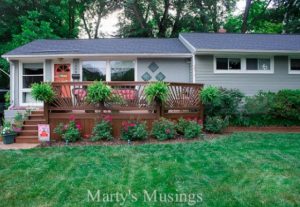
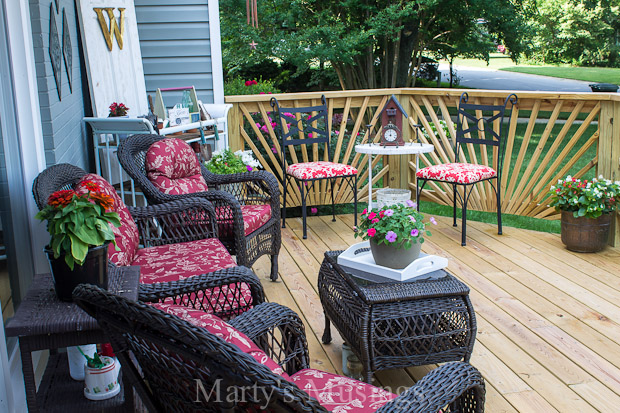
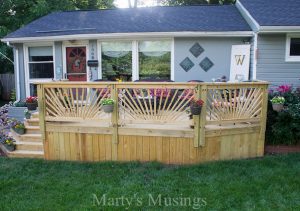
My favorite part of our DIY front deck is my husband’s sunburst deck railing. It wasn’t without its bumps and involved starting over but the finished product was worth it!

This is where we started with our front deck project. You can read all about the reasons why we took down the trees here.
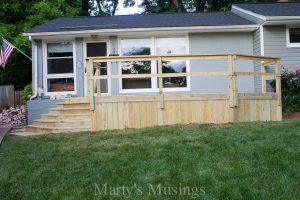
There are 5 panels approximately six feet wide and 38″ from the deck to the top rail. The horizontal mid-rails are only temporary.
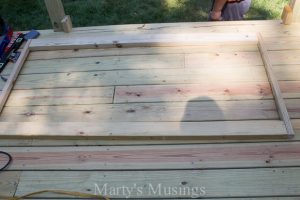
The frames are 2″ x 4″ horizontals and raw pickets for the vertical and the sunburst rays.
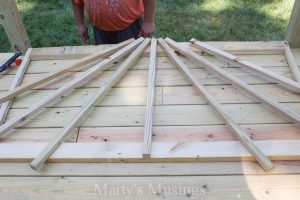
Roughing out the design gave me 7 sunburst rays, which I thought looked like a nice design.SURPRISE! The first design was out of compliance for spacing of railing pickets! They must be no further than 5″ at the widest point for safety reasons…don’t want a munchkin getting the noggin stuck. SO, this called for a re-design. I would HIGHLY advise checking the code in your area.
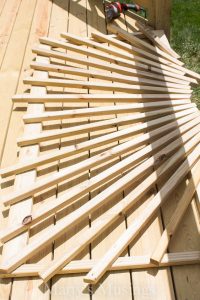
The second design allowed for compliance, spacing each picket no more than 4-1/2″ from its neighbor…that’s just how the spacing worked out for balance and symmetry. Again, measure, mark, cut, attach. You can see here how I left each picket a bit long. Once nailed, I just cut all the pickets off right at the edge of the frame. The only pickets that stayed in their original locations were the center and the two corners. Everything else adjusted to them
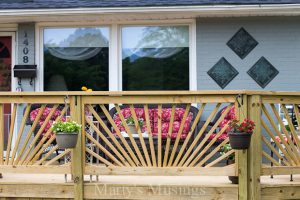
Love the way you can see pops of color on the deck through the railing.
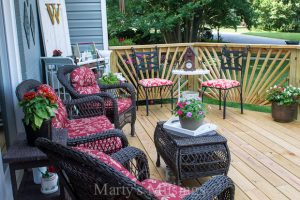
It is a bit more busy than I originally intended, but this design gives us substantially more privacy. So, we went from seven pickets to nineteen!
We have since established a flower bed with six beautiful red knock-out roses across the front. These should really soften the bottom part of the visual.
