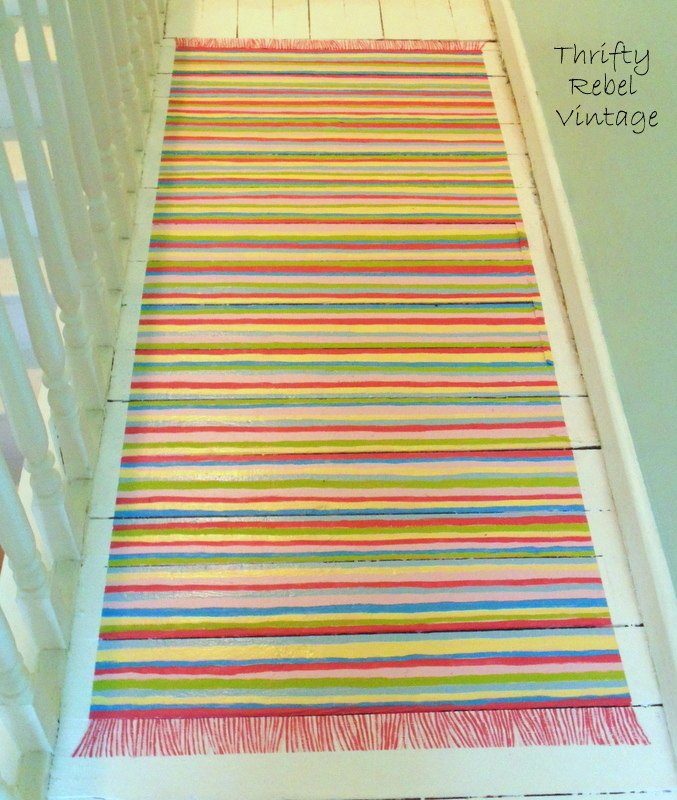
When I finished painting my upstairs hallway floor I really wanted to try painting a faux rag rug, and I’m so happy that I actually went ahead and did it.
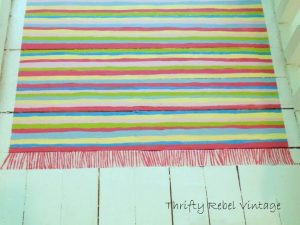
For me rag rugs have a real vintage cottagy charm about them, and if you have an old wooden floor like mine they’re the perfect type of faux rug to paint because the floor kinda works with the whole idea.
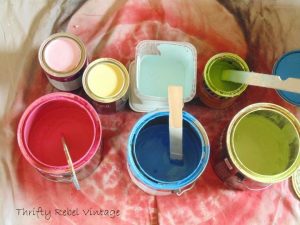
Because I’m using what I already have, this project cost me zero dollars. To paint my crazy rag rug I used a bunch of leftover paints from my stash, and I also had the poly that I mention later as well.
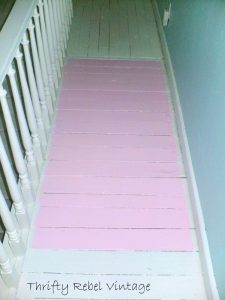
First I painted the area for the rag rug with a base coat of OOOPS light pink.
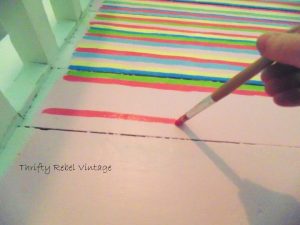
I just hand painted lines over the pink paint.
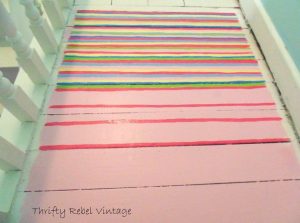
I did a small section of the rug at a time, first with the hot pink. This way I could fill in with different colours while the others would dry as I worked my way down the rug.
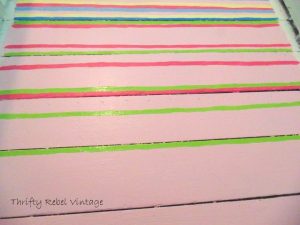
Next was a lime green. You can see how I’m working my way down as I go.
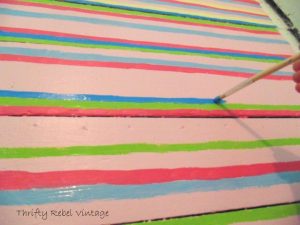
Then a dark but bright blue… and a sky kinda lighter blue. It doesn’t matter if it looks a little wonky close up. No real rag rug has perfectly straight lines so a faux one shouldn’t either, and it’ll only be seen this close up by the cats and I don’t think they’ll care. lol.
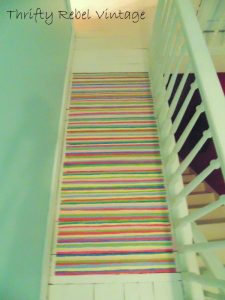
I made sure to leave lines of the light pink showing through, and filled in with the last colour… a sweet yellow. Once I had made my way all the way down the rug I went back and filled in with coloured lines wherever I thought they were needed.
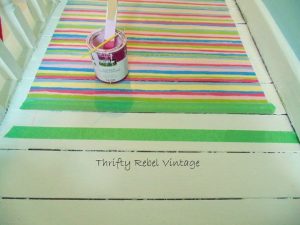
After cleaning up the edges with some white paint it was on to painting the fringe, which was really quite easy. I taped off the area where I was painting the fringe. You could wing it, but this makes it so much easier… especially helping to keep the ends of the fringe even.
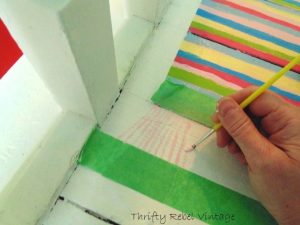
The beauty of a faux painted rug is I can make the fringe any colour I want, and since my base is pink I chose tp use that and the hot pink. I started out by painting lines with the light pink paint. Just randomly… some this way and some that way… not thinking about it too much so it looks more real.
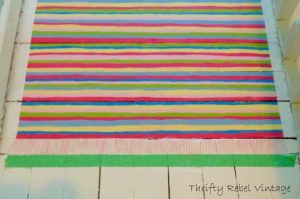
Here’s the light pink done.
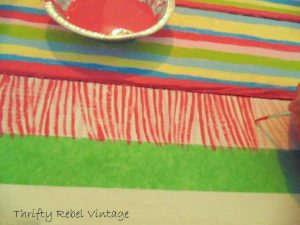
I let that dry for about 30 minutes and then I went over it with hot pink lines… again just randomly. This gives the fringe some definition and depth.
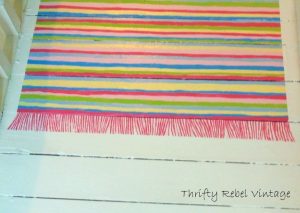
And this is this end done. The other end was shown in the first photo.
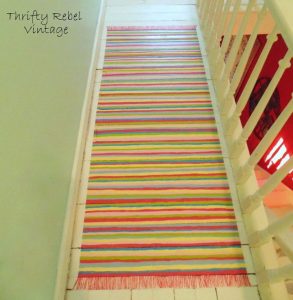
Painting a faux rag rug is a little time consuming, (it took me a couple of Sunday afternoons) but really not that difficult… and it can be customized to any decor just by changing the colors used. After my rug was all dry I added two coats of a stays clear matte polyurethane.
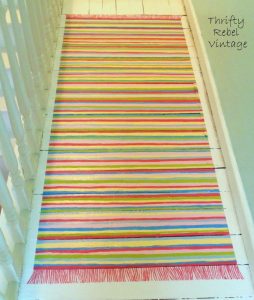
I’m quite happy with how my rag rug turned out. It reminds me of one my mother made for me years ago. She used to make rag rugs on a large loom and I still have a few downstairs. And with four cats this faux rag rug will be much easier to keep clean than a real one. Cat hair won’t stick to it, and it won’t have to be put in the washer when it needs cleaning. I’m all for less laundry. lol. For more details and pics click over to my blog using the link below.

