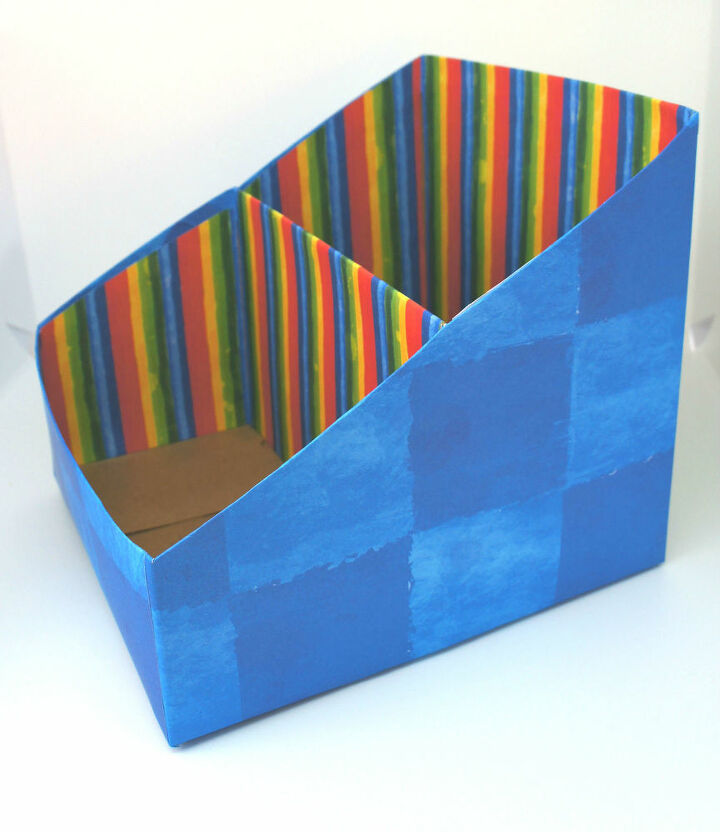
Paper organizers can be ridiculously expensive. You can make your own from an old cereal box for nearly nothing. Make one to suit your needs by using larger or smaller boxes. Perhaps add two together for multiple levels. Develop it to make it your own. It will also match your decor perfectly!
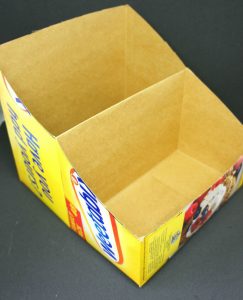
To start with select your cereal box and seal the top of the box using tape. Mark the front of your cereal box across the centre using the ruler and pen. On the opposite side mark a line across the box approximately 6cm (2.5”) from the centre.On each side of the box join the two lines you have already drawn. Cut along the line you have drawn EXCEPT for the line drawn half way down the box on the front of the box.

Fold the box along the line that you did not cut so that the two sections of the box line up. Apply double sided tape to one section and then stick the two sections together. You now have your organizer and it just needs decorating.
I used pretty wrapping paper to cover mine and I only covered the outside and inner sides. Firstly I covered the outer sides and then the front and back. I covered the inner surfaces last making sure that there was always a good cover over the top of the edges to protect them. I did not cover the bottom as I reasoned that you would never see it. You could cover all the faces if you want to. You could also decoupage the organizer if you like that effect.
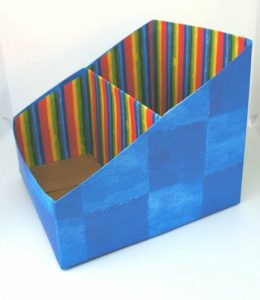
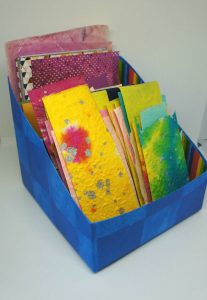
There you have it, all complete and waiting for your papers. You could also add labels to the sections and further organize your papers.

