Have some plain white sheets lying around? Check out these incredible ways to put them to good use!
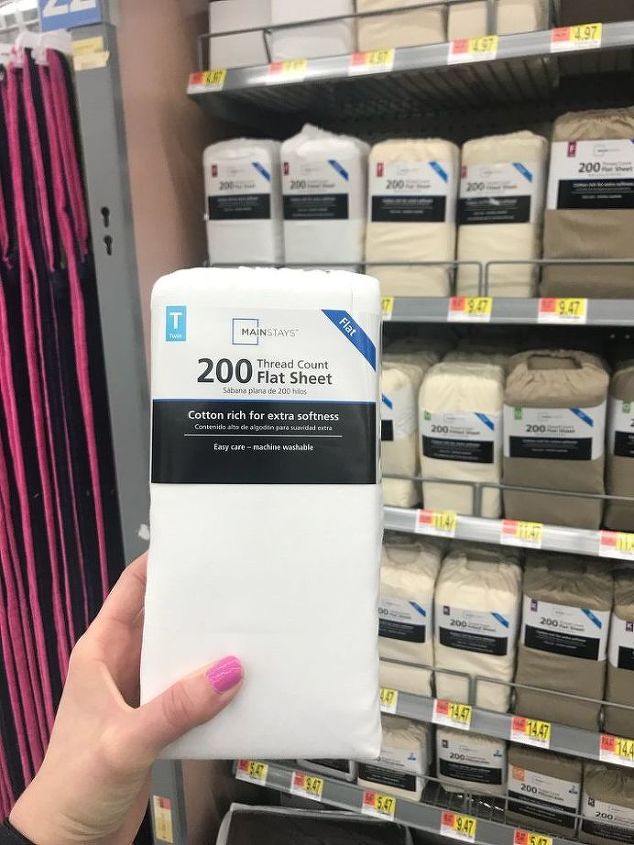
You can also pick up a few cheap flat sheets at Walmart. I grabbed some white ones to use for my decorating.
ICE DYE TAPESTRY
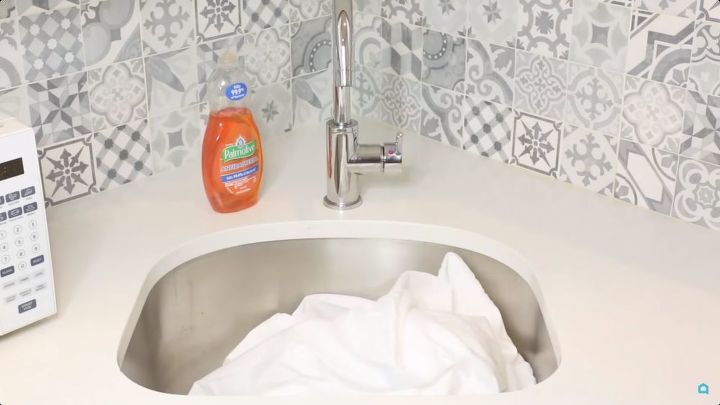
First, grab your sheet & wash it. I washed mine with 2 Tablespoons of Vinegar, hot water & dish soap. (You can also use soda ash, but I had the other ingredients on hand!) This will allow the fabric to release fabric softeners & prepare to dye. You will want to mix your sheets around in the mixture to distribute it. Then let sit for at least 5-10 minutes. After it has set, rinse the fabric out with water.
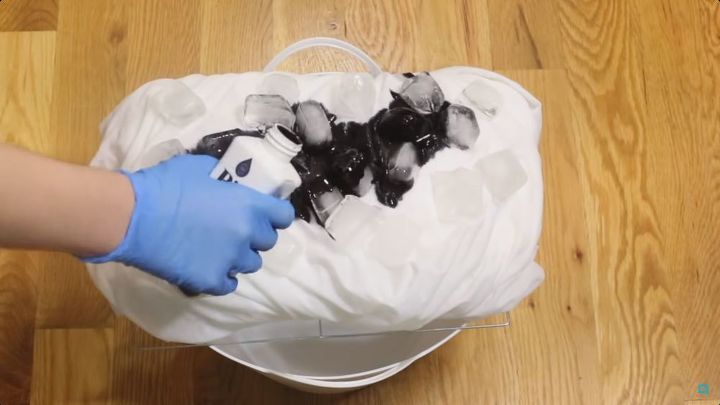
Next, grab a bin & place a cooling rack on top. After rinsing & squeezing out the water, fold & place the sheet on top of the cooling rack. Add ice to the top of the sheet & begin distributing the dye. I used liquid dye, but powder dye also works!
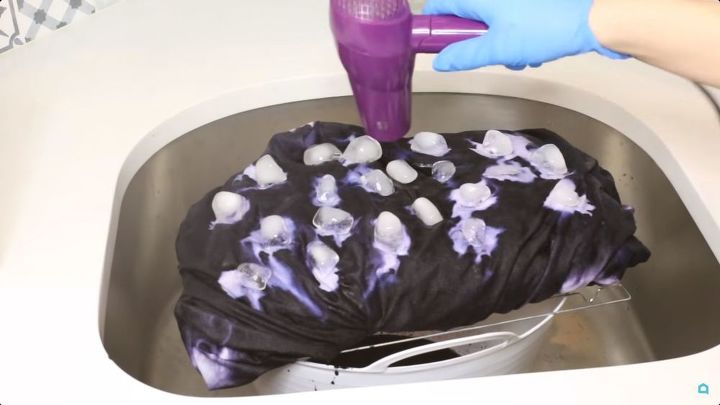
Let the dye sit & the ice melt (you can also melt the ice with a hair dryer).
***Please note that different fabrics takes dyes differently. As you can see mine did not turn navy blue. But sometimes the unexpected can be just as good!
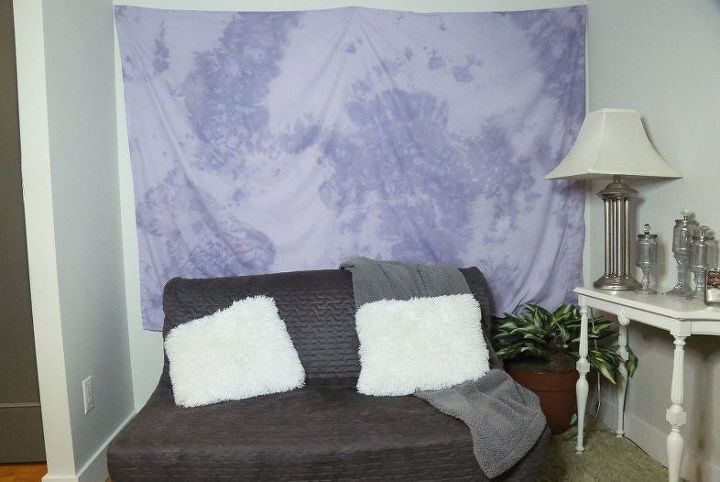
Finally, dry your fabric & hang on the wall with push pins. The big blank wall behind our couch is no more!
This would also be a great picnic blanket or tablecloth!
PALM LEAF TAPESTRY
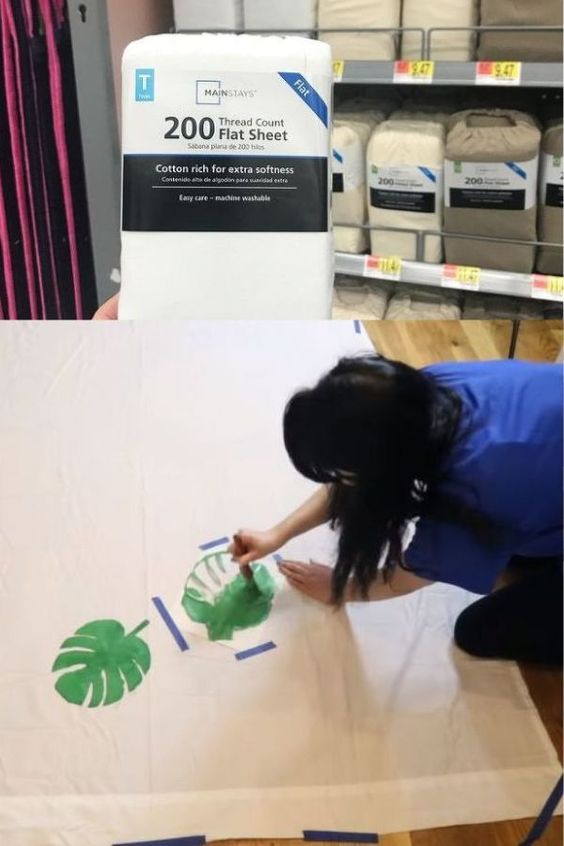
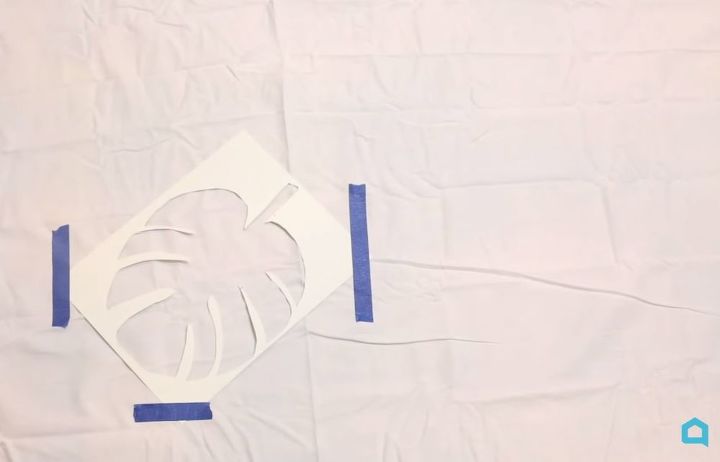
First, print out some outlines of whatever shape you want. You can get these images off of google or a coloring book. I chose to use palm leaves, but you could use any outline you want! Flowers, shapes, etc.
After you have your outline, use painter’s tape to tape it onto a pice of card stock. I chose card stock because it’s super easy to cut thorough, but this stencil will only be for one project use. If you want a lasting stencil I would suggest card board, plastic, or another firm surface. Cut out the shape with a craft knife & you’ve made your stencil!
Next, lay the sheet out on the floor. Be sure to put newspaper or cardboard underneath so the paint doesn’t seep through. I also taped the edges of my sheet down so the stencils would be easier to control!
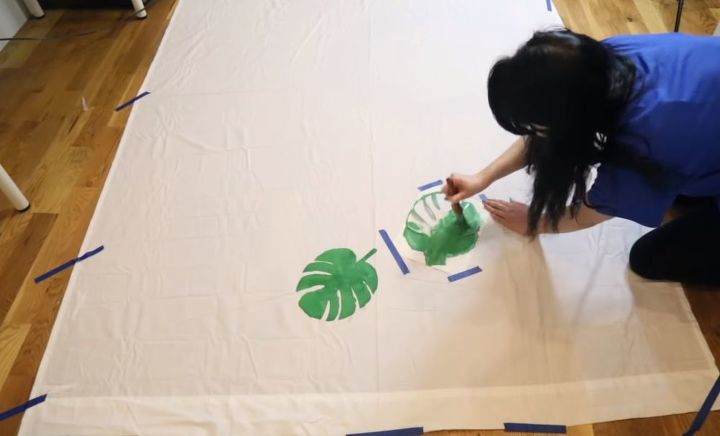
After that you can add tape to each side of your stencil & begin adding paint! I used acrylic craft paint because I was just using this for wall art, but you can also use fabric paint as well.
After you’ve finished applying all of your shapes to the fabric, let it dry & hang up your tapestry! I hung mine with push pins.
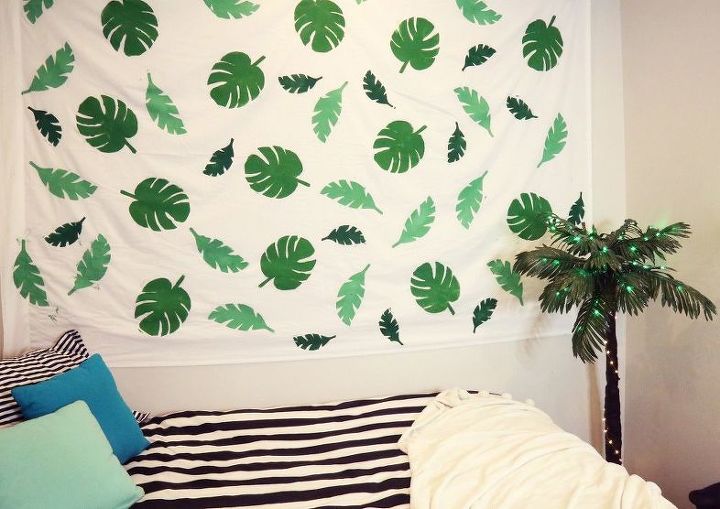
love how this super fun tapestry brightens up my walls! This would also be a great photo backdrop for a summer party!
LONG CURTAINS
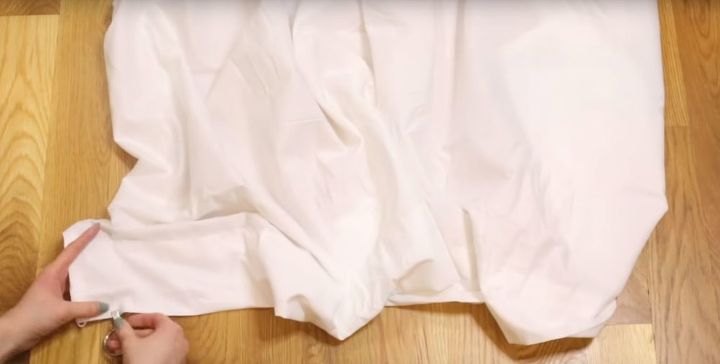
First, grab your sheets & clamp on some Curtain Clip Rings to the top of the sheet. Next, added them to a tension rod & there you have some long cheap curtains!
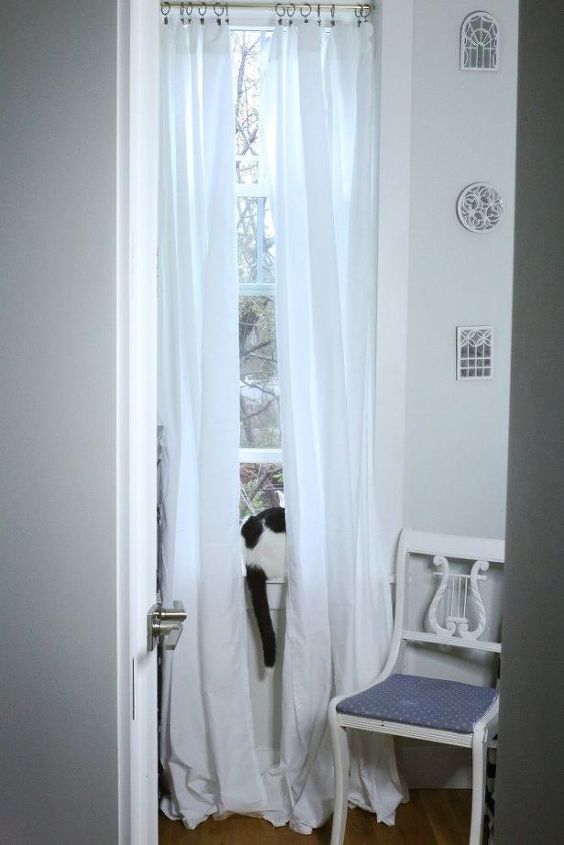
These would also be great as a room divider if you hung a long tension rod or used hooks & rope to stretch across the room.
And taa-daa! Here you have some cheap long curtains!
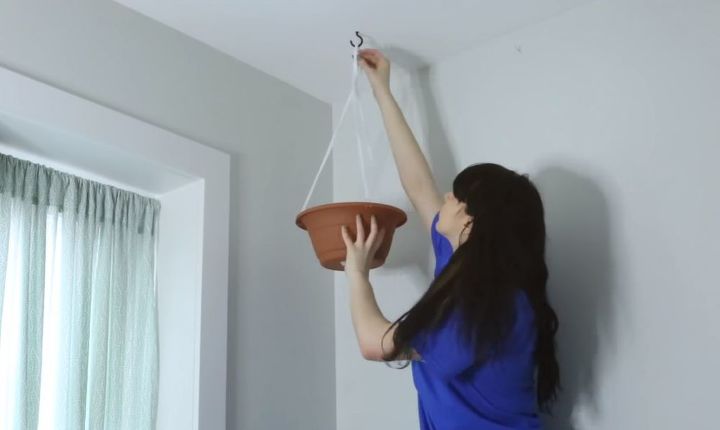
CANOPY
First, grab a dollar store hanging planter, a sheet, & some LED lights to make this awesome canopy! Simply screw a hook into the ceiling to hang the planter & tuck the sheet & LED lights into it.
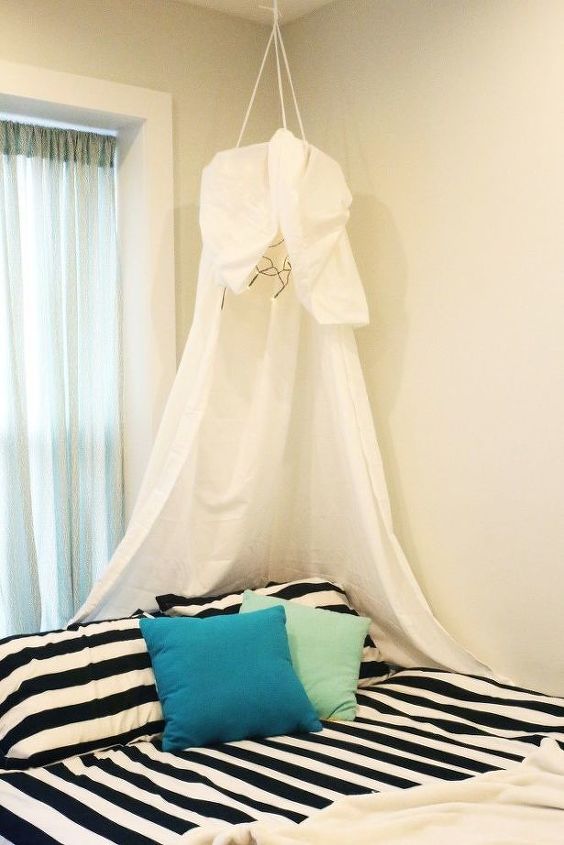
**Please note that you only want to use LED lights because they won’t heat up & case a hazard!
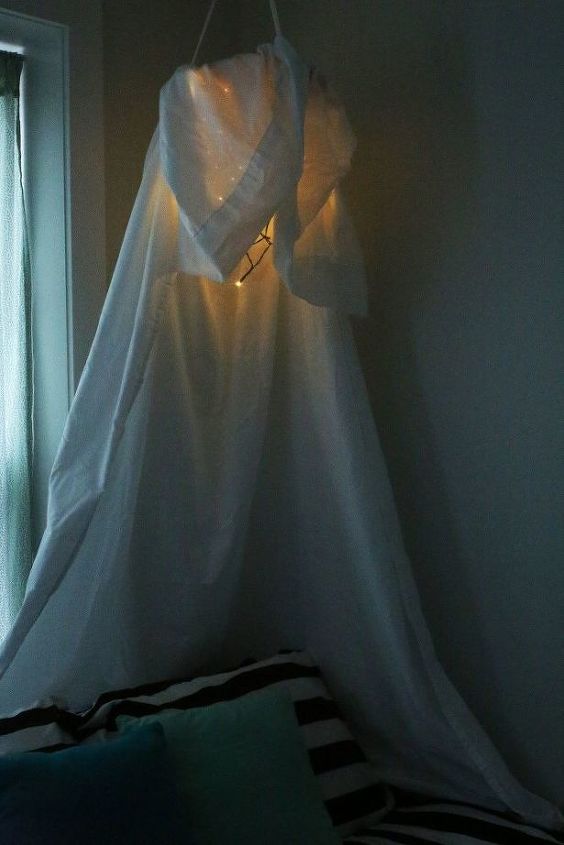
This canopy adds such a cozy touch to my room!
source:hometalk.com by Dear Hometalk

