Kyle Schuneman, designer extraordinaire and DIY wunderkind, is about to throw some serious shade. And in this case that’s a good thing! This week Kyle shows you how to transform a dull table lamp into the highlight of your home decor. All you need are a few simple tools, a little bit of elbow grease, and some fabulous fabric!
Watch the video to see Kyle in action!
Step 1: Remove the Original Fabric From The Shade
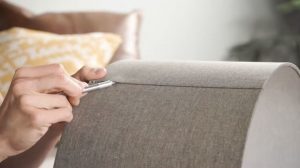
The fabric portion of a lamp shade is actually made up of two separate pieces – the fabric itself and a plastic liner. The first step in this DIY project is to use your X-Acto knife to separate the fabric shade from the confines of the shade’s metal hoops. Take your X-Acto knife and lift up the fabric along the seam of the shade. Cut along the seam until it separates!
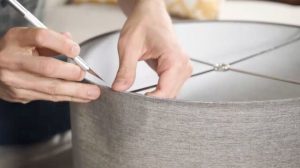
Now you’ll flip the shade and cut along the metal hoops. Cut all the way around until you’ve completely separated the fabric and the lining from the hoops. Depending on your lamp shade you might notice that some of the original fabric is still attached to the metal hoops. That’s OK! You’ll be covering up the old fabric in the next steps.
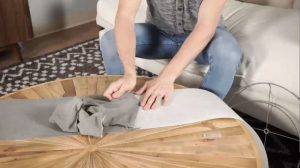
Step 2: Separate The Fabric and The Plastic Lining
Next you’ll want to gently but firmly pull the fabric off of the plastic lining. Now throw that old fabric away! Doesn’t that feel good?
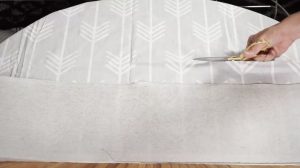
Step 3: Cut The Fabric
Lay your new fab fabric out on a smooth surface. Place the plastic lining on top of the fabric. Use your scissors to cut the appropriate length of the fabric. Make sure to give yourself about an inch of extra fabric to work with on the top and bottom of the lining. You’ll be folding the fabric over the lining, which means you’ll need some extra fabric to spare!
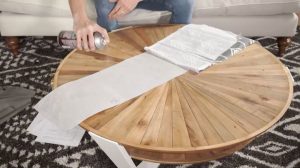
Step 4: Stick The Fabric To The Plastic Lining
Use your handy dandy can of spray on adhesive to transform the plastic lining into a big ol’ piece of tape! Spray an even layer across the surface of the plastic lining. You won’t need too much adhesive – this stuff is seriously sticky.
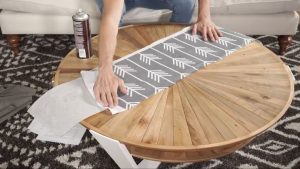
Slowly spread the fabric along the sticky surface of the plastic lining. It’s best to work slowly so that you can avoid wrinkles, bubbles, and misalignment. If you work too fast you won’t be able to make any necessary minor adjustments along the way. Spread the fabric until it completely covers the plastic lining.
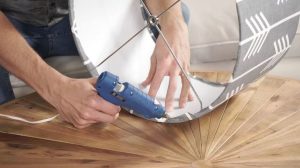
Step 5: Hot Glue Your New Shade To The Metal Hoops
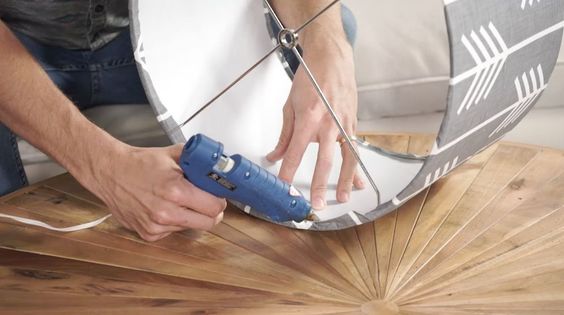
Remember how you originally cut the fabric shade off of the metal hoops in the first step? Now it’s time to do the exact opposite! Fold the extra fabric over the metal hoops. Use your hot glue gun to stick the fabric to the interior of the metal hoops. Work slowly and try not to touch the hot glue with your fingers! I’ve done it before and it’s not very fun. At all.

Let there be light! Your new lampshade is ready! Place it back on your lamp base and enjoy your new, one-of-a-kind lamp!

