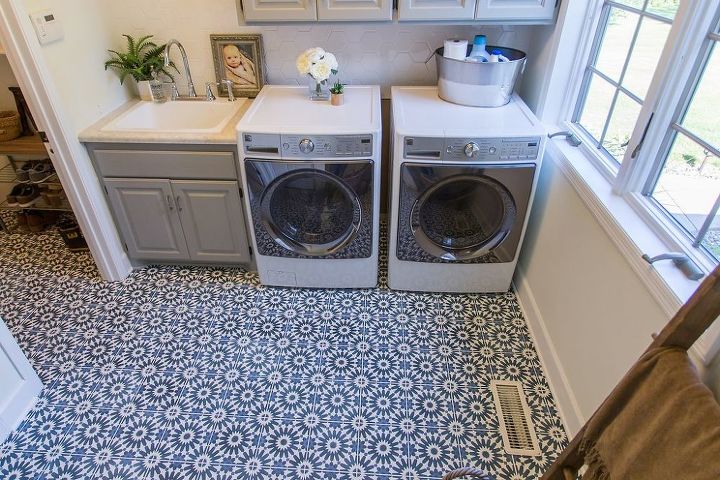
Here’s our in depth tutorial on how to lay cement tile flooring!

Before
Tip: Make sure you have 10% more tile than the measurements of the room. Cement tiles are usually ⅝” up to 3/4” so be sure to allow for enough room under doors and transitions.

Step 1: Inspect Tiles
As cement tiles are handcrafted, remember that each tile shape, color, and size can vary from tile to tile, which is normal. The variance is what makes them so fun and unique; they are all imperfectly perfect.
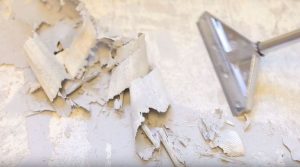
Step 2: Demo
Make sure to remove any old tile from walls and try to ensure your surface is as flat as possible. Before getting started on your tiles, clear out the room completely and make sure your space is clean and ready to get messy!
Step 3: Dry Run Prep
If you are laying tile on a concrete slab, be sure the slab is completely cured to prevent white efflorescence spots from showing up later on the surface of the tile as water evaporates through it. The surface on which you are installing the tile must be smooth and free from debris, grease, or wax.
Installing cement tiles is a fairly simple process, but it is so important that the planning and measuring be done carefully.
Find the center of the room, that is where you are going to start with the focal point of the design. For a central rug-like design, measure the area to be tiled, and find the center of two opposite walls or sides. Use these points to snap a chalk line across the length of the area, in the center of the floor, dividing the room or area in half. Then snap another chalk line perpendicular to the first, so the two lines cross in the center of the room.
Check where the lines intersect with a carpenter’s square to make absolutely sure the center point has a 90-degree angled quadrant. Start by laying a tile at the intersection of the lines, and then use the lines as a guide, as you work your way outward toward the walls in each quadrant.

Step 4: Cut & Lay Tile
As you’re laying the tiles, make sure you are using a level along the way to ensure that the floor is level.
Cement tiles can be cut using a wet saw with a diamond blade.
This can also help you create more intricate layouts with cost savings. For instance, if you want to have a strip of 2″ x 8″ border, you can order 8″ x 8″ tiles, and cut three pieces from each, for a lower price per square foot.
Once you set your tile in the thinset on the floor and have it level, use the sharp edge of a tile tool to scrape away the thinset immediately next to the tile (about 1/2 inch wide). When you place your next tile, excess mortar has someplace to spread into and does not get pushed up into your grout line.

Step 5: Pre Seal & Grout
Whether using our recommended installation method, or any other, cement tiles must be protected by a sealant or grout-release before grouting the tile. Cement tile is very porous.Grout applied over raw tile can penetrate into the surface of the tile.
Trapping moisture into the installation can cause moderate to severe aesthetic problems, such as ghosting, or a blotchy appearance. The installation will need at least 24-36 hours to cure and dry before the pre-grout sealing. It may take longer in high humidity. The tile should be completely clean as well; any dirt or mortar stains in the tile when sealed will remain there forever.
Tip: Each time you seal you will want to let the sealer cure for 2-3 days.
Follow the mixing instructions on the back of the packaging of the grout you bought. Apply enough grout to fill all the small areas of your tile. Using a rubber trowel, you will want to make a sweeping motion over your tiles and at times at a 45-degree angle to make sure you have it nicely packed in. And you’ll want to make sure you don’t have any air bubbles in your grouted areas. Move along your tiles and into the spaces.

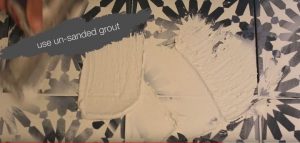
Use non-sanded grout for joints under 1/8 inch. Interior grout lines in cement tile floors are usually very thin. On exterior installations or very wet areas such as bathrooms, use wider grout lines with sanded grout.
Traditionally a very narrow joint is used between the tiles indoors. The recommendation is not more than 1.0 to 1.5 mm. You will usually want to use a very neutral color joint mix or one similar to your tile colors. Traditionally, the color grout used for hydraulic cement floor tiles is light gray cement. On tightly spaced tiles use a thin consistency grout, not a thick paste.
The grout should be thin enough to fill the narrow joints completely.
Apply the grout with a rubber float or with a rubber squeegee, always moving diagonally across the joints. Any excess grout should be removed with a damp cloth or sponge before it dries. Once the grout is cured and dry, it should be sealed
Step 6: Seal
Before sealing, the mortar and tiles should be completely dry. The final sealant will require 24 hours to cure. Adding sealer to your grout will help protect it from staining and help in the cleaning process. The sealer we use always has a nice little paint brush for the top of the bottle and you just simply paint all the grout lines.

After

After
Tools + Materials Needed
Video Tutorial

