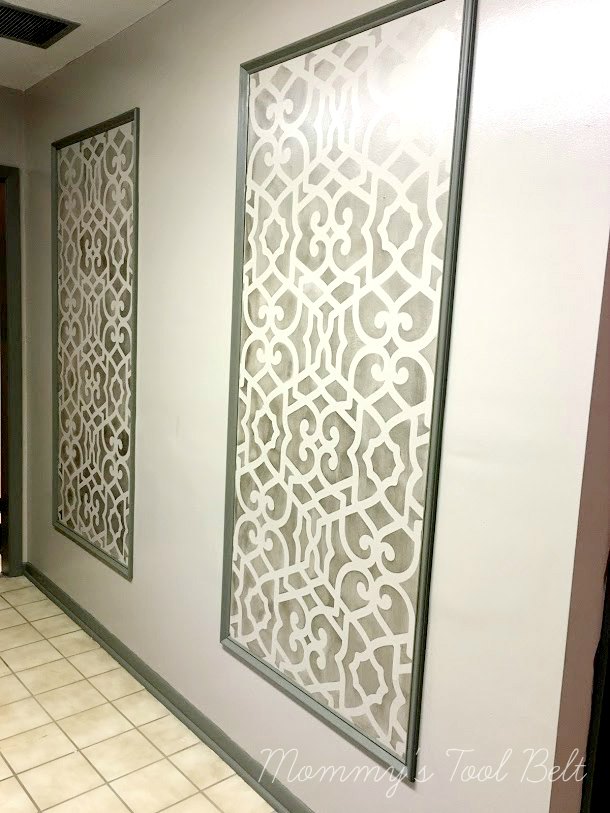
The salon I work at asked me to come up with a design solution for a blank wall. I needed something that would make the wall stand out as clients walked by, but wanted to try something other than art. So I used trim and stencils to create my own art!
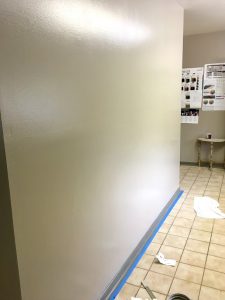
This is the boring blank wall that needs some interest added to it. You will need trim pieces of your choosing to create frames to attach to the wall. Cut the pieces to the height and width desired. I created 2 full frames to fit centered on the wall. Taller frames will help in making the room feel bigger.

Once the trim pieces are cut to length, attach them together with a nail gun. A 45 degree angle will be needed to make each corner of the frame. Use a miter saw to make your cuts and they will fit together perfectly!
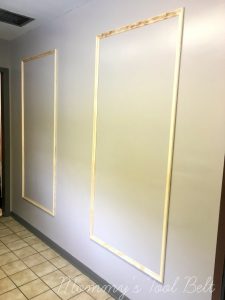
Attach the frames to the walls, centering them with equal distances between them. Paint the new moulding the same color as the trim.
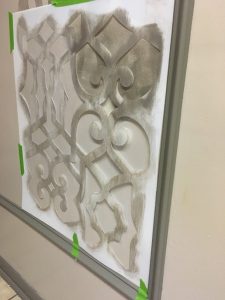
I bought a large stencil from Royal Stencils and the stencil creme that has a metallic sheen. Stencil the inside of the frames using your stencil brush. Make sure to read my tutorial to learn exactly how to apply the creme to the stencil.
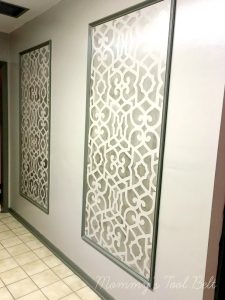
The finished product is a statement wall that brings tons of compliments from the clients! It’s unique and easy to do and the variations are endless to create your own statement wall. I’m hoping to try this in my home next! Check out the full tutorial at Mommy’s Tool Belt.

