I’m loving belly baskets lately… the plain ones are pretty… but I LOVE LOVE LOVE the dipped, pom, and tassel adorned ones!… so I’ve put together a DIY to show you some options of what you can do with the plain janes to dress them up for your home!…
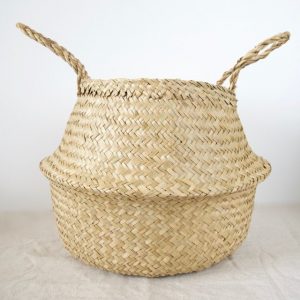
Here is the plain belly basket… a rather lovely storage option for around the home

For the supplies for these DIYs you need:
Belly Baskets
Yarn
Scissors
Yarn Needle
Chalk Paint and paint brush
Gold leaf supplies (if you want to get really fancy)
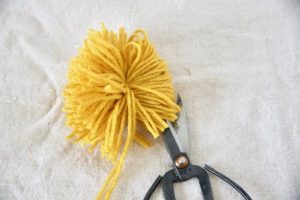
To get the step by step on making pompoms and tassels be sure to checkout the full blogpost… its full of photos and details to help you create the storage baskets of your dreams!
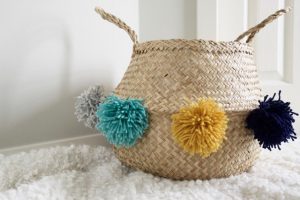
I show you how to create willy nilly pompoms and tight and tidy pompoms…
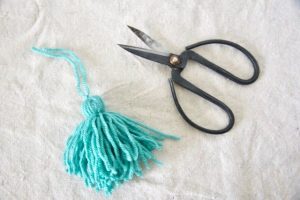
…even yarn tassels!… so many options!
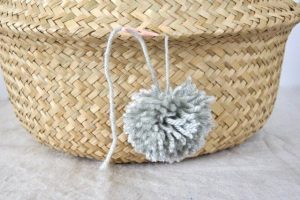
Once you’ve make the pom/tassel of your choice its time to sew them onto the basket… but not by piercing the weave… by working the yarn in around the basket weave… this way if you want to change the locations or change the baskets up over time you’ve not damaged the basket weave! 😉
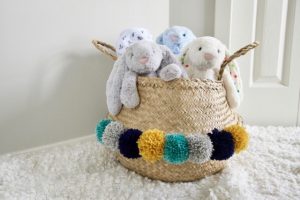
Once you’ve secured your pompoms in place you’re good to put that basket to work!
Have fun with the yarn colours, pompom types, and even locations of the pompoms!… the possibilities are endless!
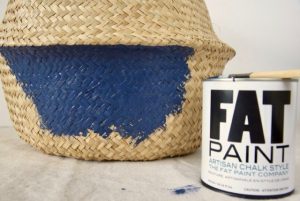
Now here comes the dipped version… Get that FAT paint and brush going babes!…
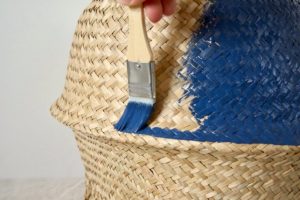
Flip the basket top side down and work a line around the underside of the basket fold… this gives you a border and makes painting the bottom half of the basket go a little quicker…
If you want paint half, paint the whole thing… use one colour or use as many colours as you like!…
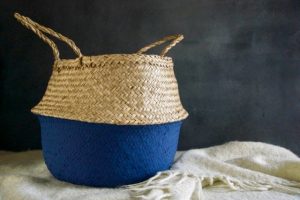
I found that two coats of paint worked best to get the colour nice and opaque… Once your paint has fully dried it’s good to be put to use!… now make sure it’s good and dry… you will likely have some paint seep through the weave into the inside of the basket… this is totally fine… you’re going to be storing things in here… not looking in here… just be sure that the paint is dry before you start storing things in there!
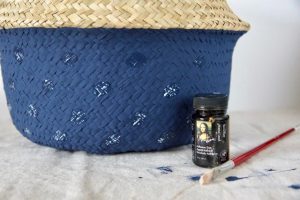
…Okay so I couldn’t just leave the basket blue… I wanted to kick it up another notch and add gold leaf dots to the basket!… full details on how to gold leaf on my blog (link below)…
Using a paintbrush I freehanded dots of adhesive sizing onto the basket…
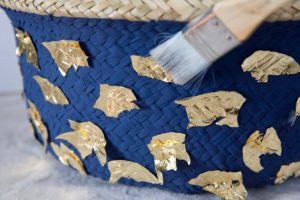
Once the sizing has set apply pieces of gold leaf and gently rub them into place with a soft cloth to ensure they’re good and adhered to the basket.
With a soft brush, brush away the excess leaf to reveal the darling gold leafed dots!
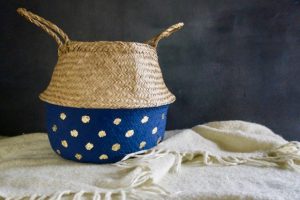
Now THAT’s a darling basket!
What do you think?! what colour combinations will you be working with to customize your designer baskets to your home!?
source:.hometalk.com by Feathering My Nest – Lacey Haskell