I always have scrap plywood laying around, so I’ve been searching for ways to use it up. I had a small piece of 1/4″ plywood that wasn’t big enough for anything useful, until I cut it up into small squares to make coasters!
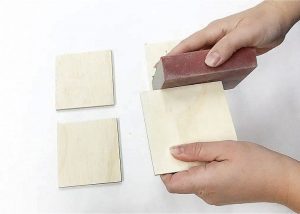
After cutting the plywood into four inch squares, I sanded down the edges and corners lightly with a sanding sponge.
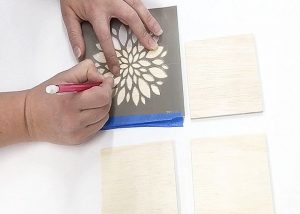
I wanted to create a set of four coasters with a variety of floral designs. I stenciled each design onto the plywood squares.
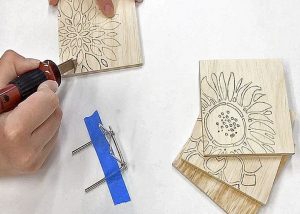
To make the design permanent, I used my woodburning tool to burn the pattern into the wood.
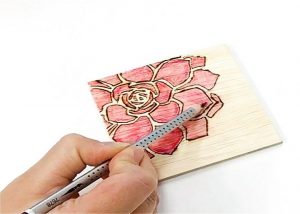
I added color with watercolor pencils. The burned edges of the design keeps the color inside the lines.
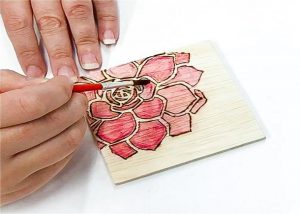
Then I added water to each colored section to brighten it up! The design really came alive as the water mixed with the watercolor pencil.
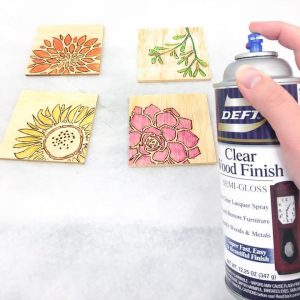
To protect the final design, I sprayed each one with clear wood finish. Now the coasters can get wet without bleeding the color further!
source:hometalk.com by Vineta @ The Handyman’s Daughter