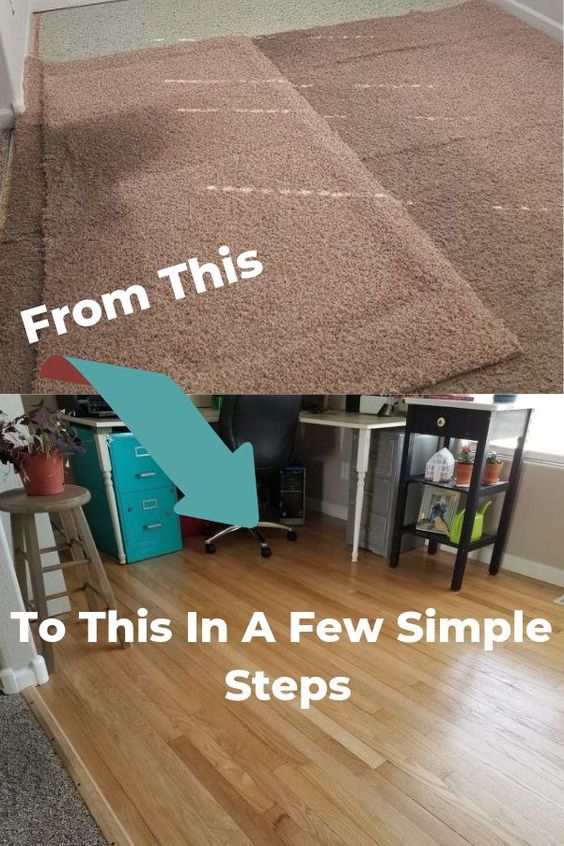

Recently purchased a home with a den area that was in desperate need of new flooring. I decided to use some weathered hardwood flooring that was left by the previous owner!
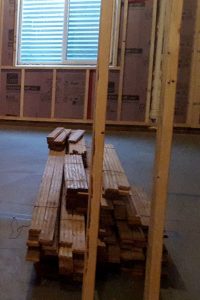
Here is the weathered hardwood flooring that was left by the previous owner. I laid the flooring out all over my basement in order to find the best pieces of flooring.
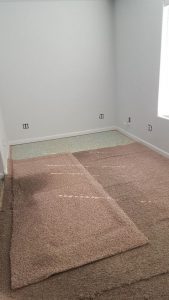
Here you can see the condition of the carpet with one strip removed.
I started by using a utility knife to cut the carpet into strips to make it easier to roll up and remove from the room.
** since doing this project I have learned I should have put down plywood before installing the hardwood flooring**
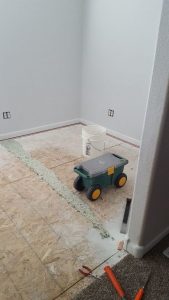
Using my lawn buddy to roll around the space, much easier on the knees  I removed the carpet and pad. The strip is the leftover pad that was attached to the floor by staples. I used a straight blade screw driver, long nose pliers, and a hammer to remove the staples.
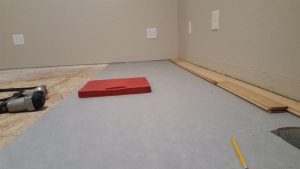
I laid down underlayment. Starting in the corner and working my way across the room I laid the boards down. For the first couple of rows I used trim nails to hold them in place. It took some time to piece the floor together, at times I had to cut bad spots out of the weathered flooring to make things line up correctly.
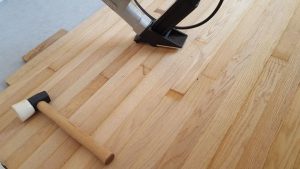
For the remaining of the flooring I used a wood floor flooring cleat nailer and mallet.
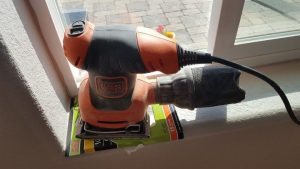
Once all the flooring was down I used a palm sander to sand the floors.
I sanded the floor three times starting with 60 grit and ending with 220 grit sandpaper. I sanded till the wood was smooth to the touch.
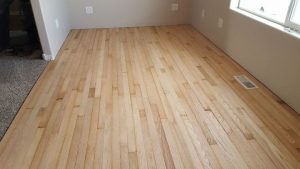
Floor has been sanded, wiped down with a damp cloth, and is ready for the Polyurethane! 
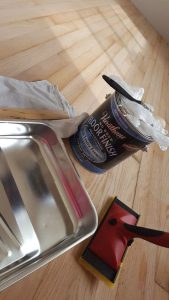
Next I sealed the floors using:
Rubber gloves
Steel paint tray
Heavy duty pad painter
Small paint brush
Varathane Crystal Clear Semi-gloss Water-Based Floor Finish

Floor drying after the final coat of polyurethane!
I did three coats of polyurethane, lightly sanding with 220 grit sand paper in between each coat. I was sure to let each coat dry as direct on the cans instructions.
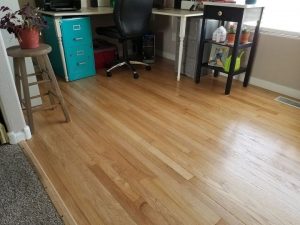
The den is all done and the floors turned out beautiful!