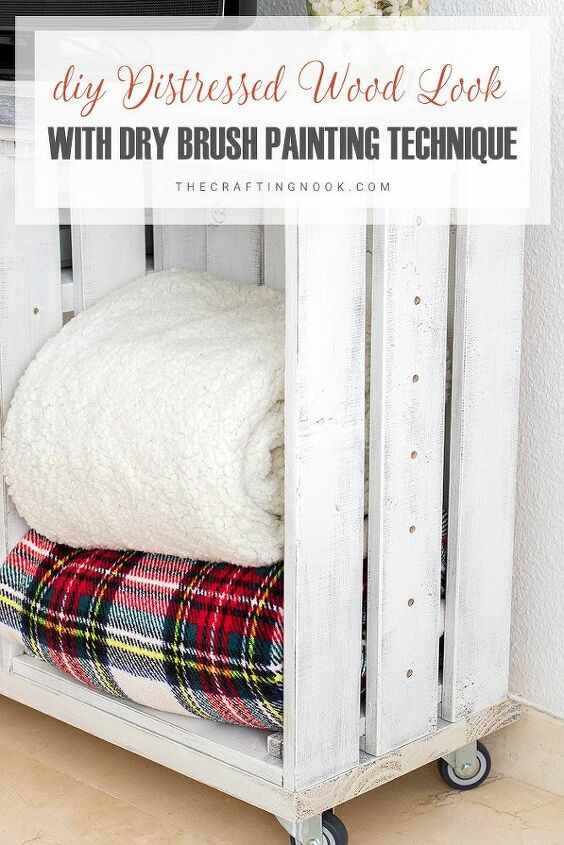
Learn how to create a Distressed Wood look with the simple dry brush painting technique in just a few steps. An awesome finish in a simple way!
Distressed wood furniture is one of my favorite painting techniques for rooms decorated with a rustic, cottage or farmhouse style. Distressed Technique is perfect for flea market finds, thrown away pieces or even those you might have kept from grandma around the house.
I used this technique to paint 2 crates and a couple boards to build a TV Console Table.
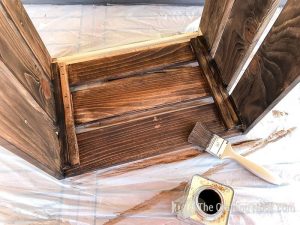
It’s a super easy technique that requires no perfection at all. Actually the more imperfect the better it gets. You just need to clean your piece and stain the wood (if it’s natural, sand it if not), let it dry and then get your favorite paint and a brush that this will be fun!
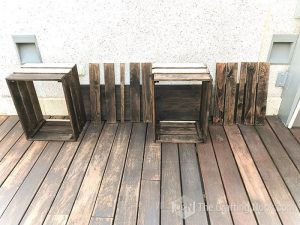
Once you piece is ready pour a little bit of paint in a plastic plate and barely dab the tip of your dry paintbrush into the paint and dabbed it on a piece f paper or paper towel to remove excess paint.
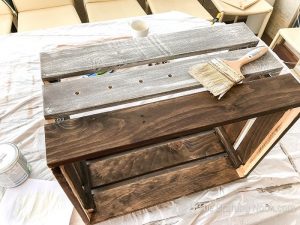
Use short, quick brush strokes in both directions (along the wood grain and across them) to give it a textured and accent the wood lines.
There’s no right or wrong way here, just the way you like it! Add coats until you like the coverage.
Just keep going until you finish you piece, sand a little bit edges for a more rustic finish and the seal it with a spray mate varnish (brushed varnish will damage the technique finish).
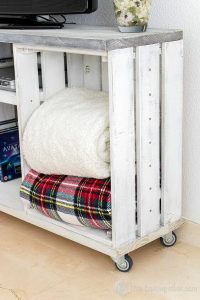
This is how mine looks!
Hope you like it!
The estimates cost and times are subjective and relative since I’m talking about the technique and not the finished project. It will depend on your project specific needs.
If you want to see the full detailed tutorial, jump over to the blog. There’s even a video tutorial waiting for you!

