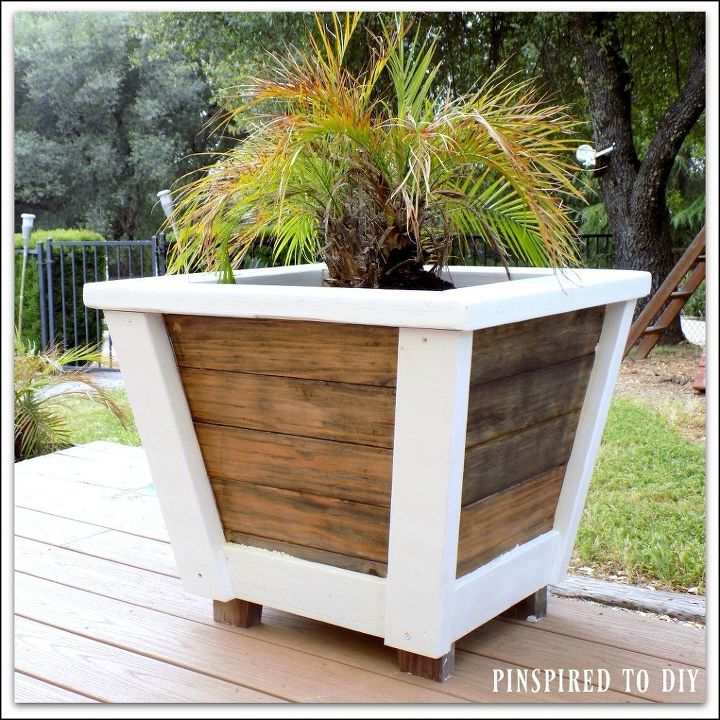
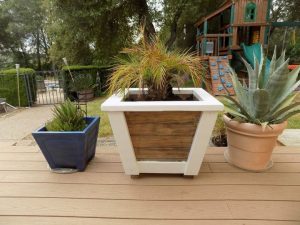
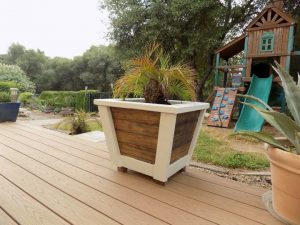
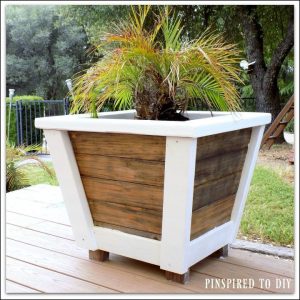
I have a pygmy date palm that is outgrowing the cheap planter that I had it in so my project for last weekend was to design a build a new planter for my cute little palm tree. Below is an abbreviated description of how I built this planter, for full building instructions and more detailed pictures, visit my blog at the link at the bottom of this post.
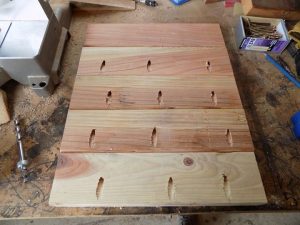
First, I cut the 2×4 boards for the planter bottom and attached them using wood glue and pocket hole screws.
I then cut the 2×4 boards to build the side panels. These were each mitered to 10 degrees at each end, and then assembled the panels with the shortest boards at the bottom and the longest boards on top. I created four panels, one for each side of the planter.
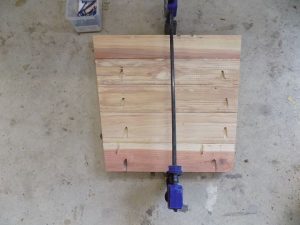
I then attached the side panels to the bottom panel using wood glue and pocket hole screws.
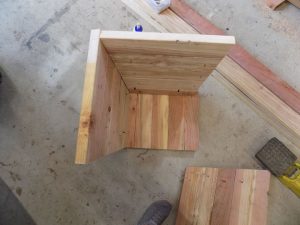
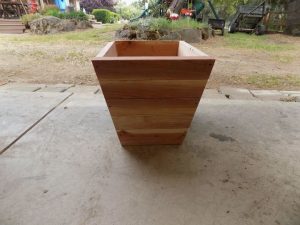
Once all four side panels were attached, I cut the 2×4 trim pieces for the planter sides. I then attached the trim pieces using wood glue and 2 1/2 exterior wood screws.
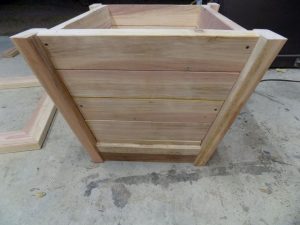
Next, I cut the planter top trim pieces and attached using wood glue and 2 1/2 exterior wood screws.
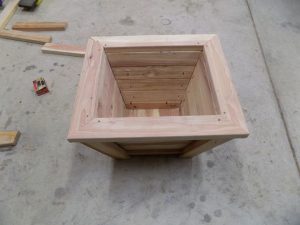
I then added the 1×4 boards for the bottom trim pieces and attached using wood glue and my finish nail gun.
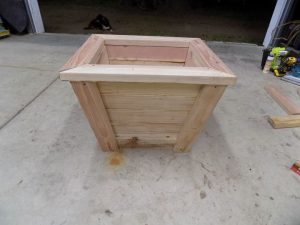
I then cut 2×4 boards to create the feet and attached using wood glue and exterior wood screws.
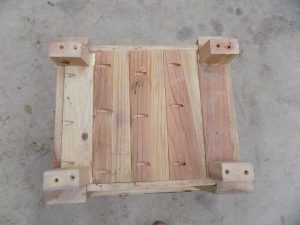
I then filled all holes with wood filler. Once dry, I sanded the planter and then added my favorite weathered wood accelerator to the side panel boards.
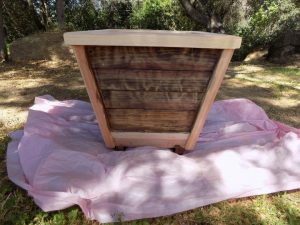
I then taped off the stained boards and painted the remainder of the planter white.
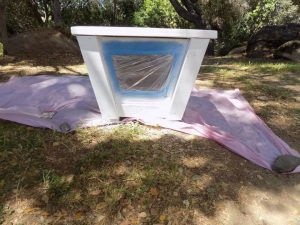
Once the paint and stain were completely dry, I coated the planter in three coats of exterior polyurethane and let dry completely.
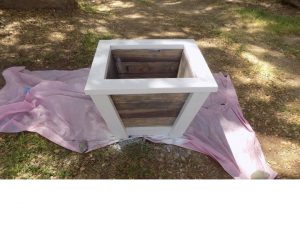
Once the planter was completely dry, I add potting soil and my pygmy date palm and moved it onto my back deck to enjoy!

