Now here is where that 1/4″ plywood spacer really comes in handy. I sized the furring strips to be flush with the top of the top crate and then have 3″ of spacing between each crate all the way down. So all I needed to do was measure down 1-1/2″ from the top and set the spacer flush with the front of furring strip. Then I struck lines on each side of the spacer.

Now all I had to do was align the slides with the front of the furring strip and the mounting holes on the center lines like before. Attach the slides with the included screws.


I repeated this all the way down and had all my slides mounted

ow the only thing left to was install the crates onto the slides.

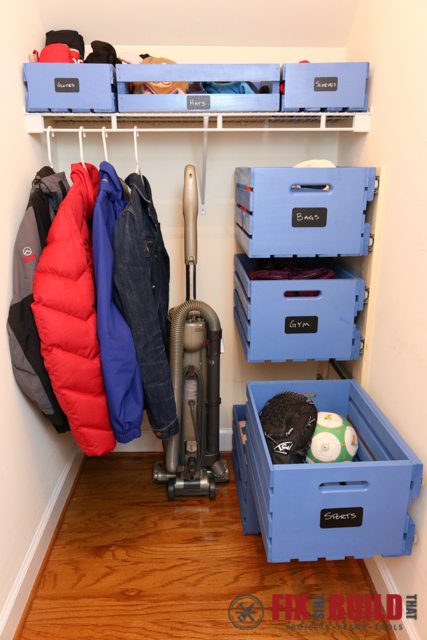
At that point we labeled all the crates with chalkboard tags and then started strategically putting things back in them. As you can see we ended up with far far less in the closet than when we started. I guess that’s what clearing the clutter is all about!

source: fixthisbuildthat.com


