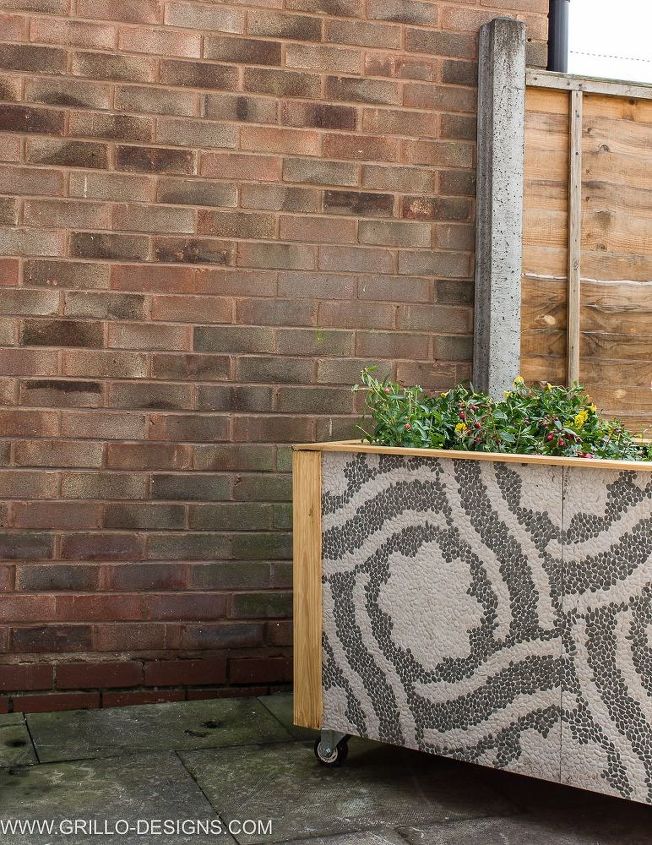

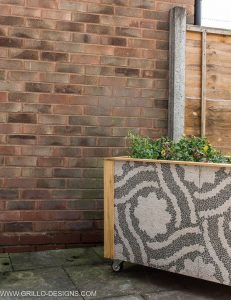
I made a planter box from tiles. The tiles are actually meant for outdoor paving (Mediterranean style) but as I rent, I couldn’t see the point of doing something like that for a garden that I didn’t own. Instead I thought, why not use the tiles to make a stylish planter…. on wheels?
That way, if I did ever move homes, I could roll it along with me!
Its not the first time ive made a planter – check out my baking tin herb planter i made last year
MATERIALS NEEDED
TILING:
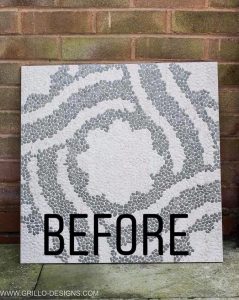
- 6 x tiles –
- 2 x Flexible grey Grout
- Grout paddle
- Grout mixing paddle
TO BUILD:
- 4 x heavy duty castor wheels
- Treated outdoor wood
- Strip wood
- 1 x roll of greenhouse plastic
- Stone/tile Glue
- Wood glue
- 7 cm Screws
- Exterior Varnish
- L shaped Metal brackets (optional)
TOOLS NEEDED:
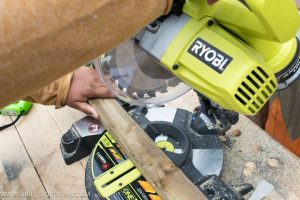
- Mitre saw (or Manual saw – but this may take longer)
- Staple gun
- Electric screwdriver
- Clamps
- right angle clamp
Sander
HOW TO MAKE:
PLEASE NOTE ALL PLANS AND MEASUREMENTS ARE ON MY BLOG. SEE LINK AT BOTTOM OF POST
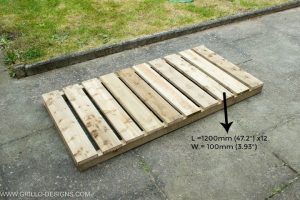
1. cut wood to desired lengths with saw
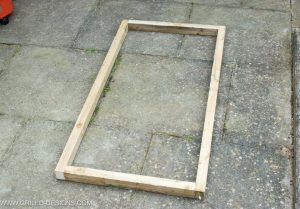
2. Connect wood to make a rectangular base. This will form the bottom of the planter
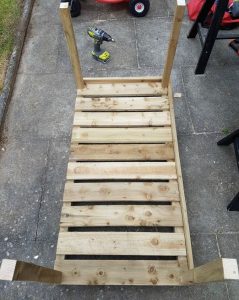
3. Add in planks to the top of it
7. Next add on pillars to all four corners
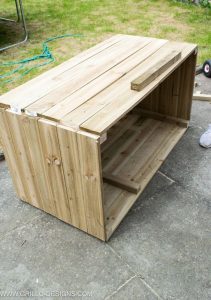
5. Add wood to outer surface to make a box.
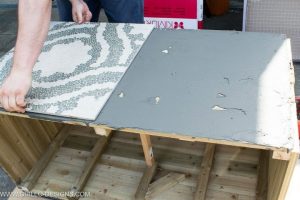
6. Start tiling – add on grout with float and apply tiles – doing one side at a time. use clamps to help tiles stick to grout
7. Once dried, add the caster wheels and flip the container over.
8. Staple in greenhouse plastic
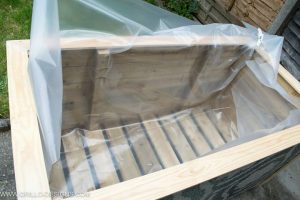
9. Tidy up the edges and coat wood with exterior varnish.
10. Fill with soil – and voila
To see more pictures and to get sources for these gorgeous tiles, head to my blog at the link below.
And if you’re looking for a faux tile project – see how I wallpapered my floor to look like tile!
source:hometalk.com by Medina at Grillo Designs