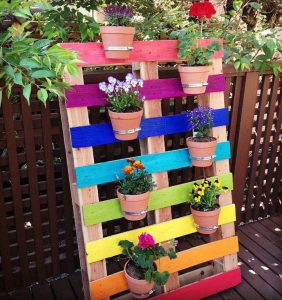
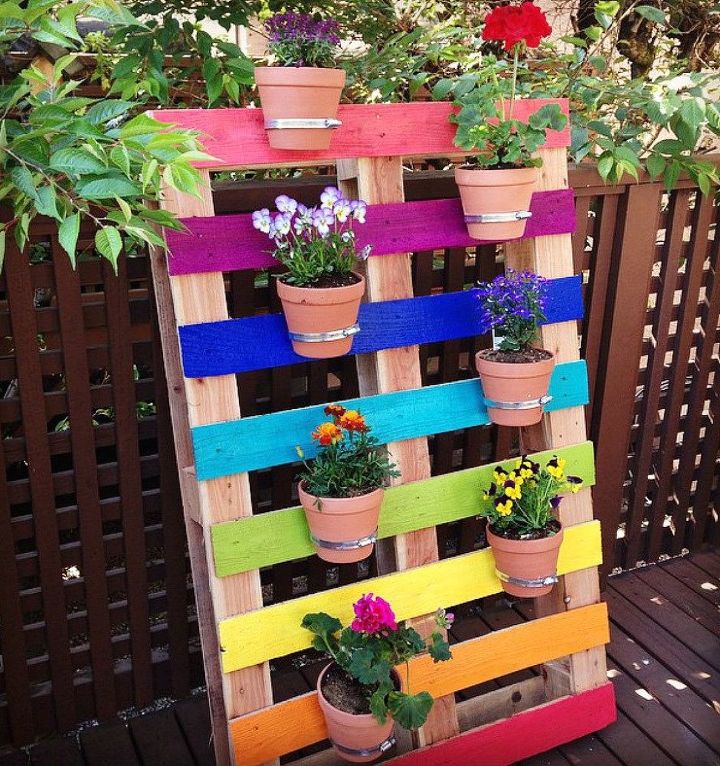
Turn your backyard patio into a colorful oasis with this bright and colorful DIY Upcycled Pallet Rainbow Flower Garden. This is a super fun weekend project that the kids can help out with! Use colorful acrylic paints that you already own to make this an inexpensive backyard DIY.
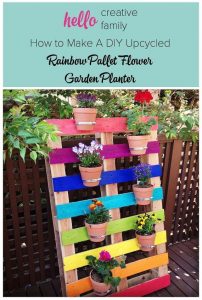
DIY Upcycled Pallet Rainbow Flower Garden
How to Make A DIY Upcycled Rainbow Pallet Flower Garden Planter
Materials:
-1 heat treated pallet (mine has 8 slats)
-Sand paper
-Acrylic paints in every color of the rainbow (red, yellow, pink, green, purple, orange and blue… and a few shades in between!)
-Acrylic varnish, optional (I used Americana DuraClear Varnish in Satin and went through approximately 3 ounces)
-Paint brushes
-Drop cloth (or a section of grass you don’t mind getting paint on!)
-Drill and drill bits
-Flat head screw driver
-Worm clamps (These are the round pieces that will wrap around your mason jars and be attached to the pallet. Available at your local Home Depot, I found them in the section with heating ducts. I used 4″ worm clamps for my large mason jars and 3″ worm clamps for my small mason jars.)
-Zinc machine bolts and wing nuts (We used 1/4″ -20 which ended up being a great size for this project)
-Terra cotta flower pots (I got mine at the dollar store)
-Flowers
-Potting soil
Instructions:
First things first… a note on pallets. When using pallets for garden or home projects you want to look for heat treated pallets (vs. chemically treated pallets). Chemically treated pallets are getting harder to find, but they are still out there. To determine if a pallet is heat treated, look for a stamp on the wood that says “HT” like the stamp above. You will usually find this stamp on the side of the pallet or on the back. If you see the HT stamp you are good to go!
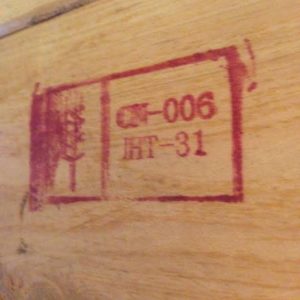
Always look for the Heat Treated Stamp
Step 1- Gather together your materials and sand your pallet to remove any pieces that will sliver. I left my pallet fairly rough but at the same time didn’t want the kids getting slivers if touching it.
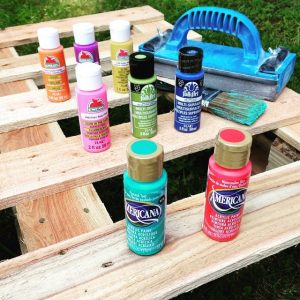
Collect your supplies
Step 2- Paint your pallet with your favorite rainbow colors. Since rainbows are nice and bright, I put two coats of paint on each slat of my project. Acrylic dries pretty quickly, and it was warm outside when we were working on ours, so by the time I got around to finishing painting the 8th slat, the 1st was dry and ready for a second coat.
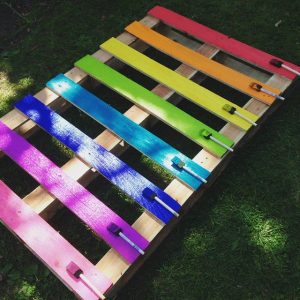
Paint your pallet with your favorite colors
Step 3- Apply a layer of varnish to your project. This step is optional but I decided to try it. I told the associate at Michael’s about my project and asked her what she would recommend. I thought that I would end up with a spray varnish, but she advised that I use the liquid varnish that is sold right along with the acrylic paints next to the speciality paints like sparkle, chalkboard and glow in the dark. Her reasoning was that the liquid would go on thicker and more evenly than the spray and offer better protection
Step 4: Plant your flowers in your terra cotta flower pots.
Step 5- Drill holes in each of your worm clamps. (Don’t worry if your worm clamp gets slightly flattened when drilling. As soon as you tighten it around your flower pot it will re-shape into a circle.)
Step 4: Plant your flowers in your terra cotta flower pots.
Step 5- Drill holes in each of your worm clamps. (Don’t worry if your worm clamp gets slightly flattened when drilling. As soon as you tighten it around your flower pot it will re-shape into a circle.)
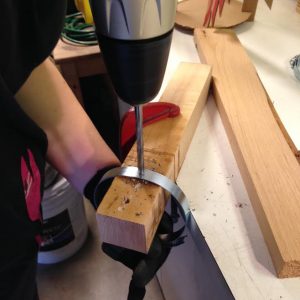
Drill holes in your worm clamps
Visit Hello Creative Family to get the details on how to finish this fun weekend project!
