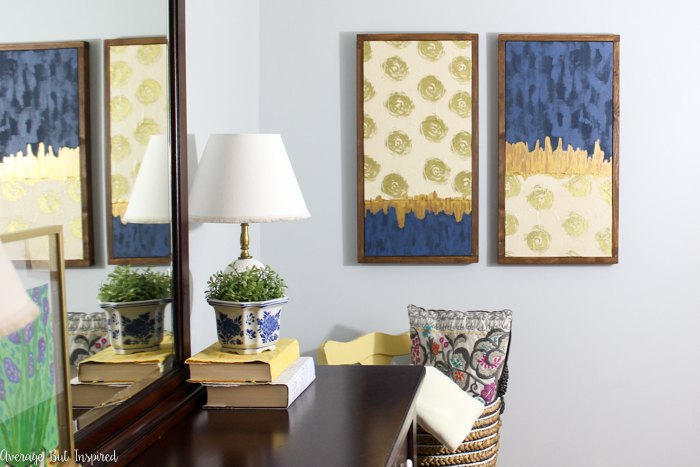
My master bedroom definitely suffers from neglect. It’s always easier to justify spending money on the “public” areas of the home, so my bedroom gets shortchanged most of the time! I finally decided to replace artwork that was too small for one of the bedroom walls, and I did it with DIY Wrapping Paper Art that was super easy to make! (To see other affordable and easy home decor ideas, please visit my Home Decor Gallery!)
I started with blank canvases and pretty, heavyweight wrapping paper.
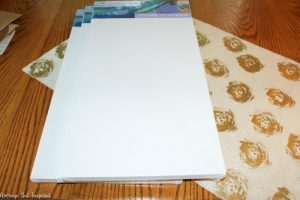
I cut the wrapping paper to be slightly larger than each canvas panel, and then I applied it to the canvases with Mod Podge. I used a brayer to get the wrapping paper as flat as possible.
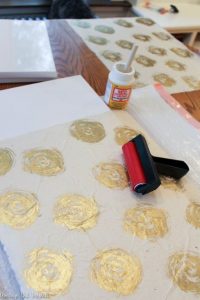
While the Mod Podge dried, I painted the bare part of the canvases with acrylic paint. I used blues and golds for the painted portion of my artwork, but use any colors that work in your space!
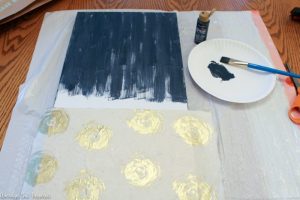
Then, I cut the excess wrapping paper and fastened it to the sides with permanent double-sided tape.
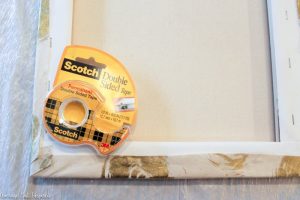
I added a layer of Mod Podge to the top of the wrapping paper for extra adhesion and protection, but this step is probably not necessary if your art will not be hanging in a high-traffic area.
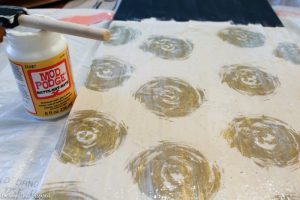
Once everything dried, I framed out my canvases with an easy DIY build frame. I got the directions on how to do that from another blog that I linked to within my blog post. With that finishing touch, I hung my new artwork in my bedroom and was happy to have a fresh, new look!
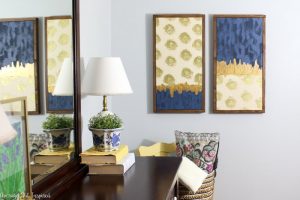
It’s so nice to have more of a cohesive look happening in my bedroom now, even if I’m usually asleep when I’m in there. 

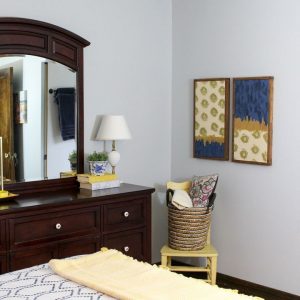
If you’re interested in learning about my bedroom’s thrift store lamps and dresser decor, you can see that post right here! Also, please be sure to visit my blog post at the link below to see more step-by-step photos of this project and to see a complete supply list.

