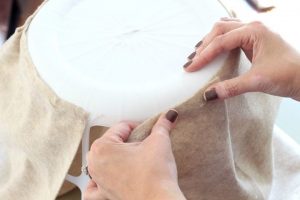
I started by attaching felt to the outside of the laundry basket with hot glue. The felt made it easy to adhere the rope to it and also acted as a liner for the inside of the basket.
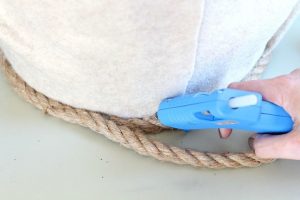
Next I wrapped jute rope around the entire basket, attaching with hot glue.
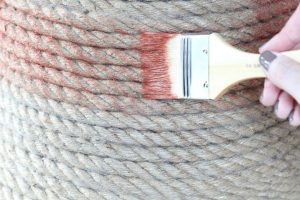
I wanted an ombre effect with my metallic paint so I started with a light coating of copper metallic paint gradually building up the amount of paint I used to create the ombre effect.
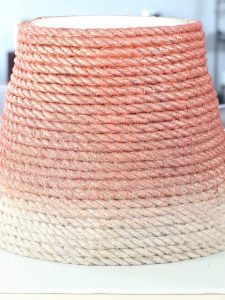

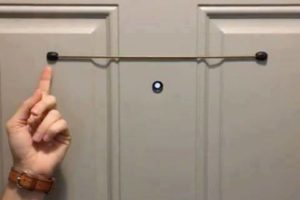
I cut off the lip on the top of the laundry basket so that the rope didn’t stick out awkwardly at the top.

I used the excess felt that had been overhang from the sides of the laundry basket to tuck inside of the basket to act as a liner for the basket. The felt is just tucked into the bottom, I didn’t sew or glue it. It won’t be seen anyway with blankets or anything else in it.
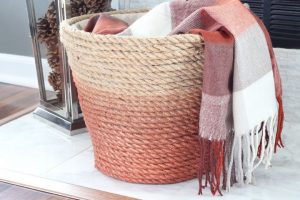
It’s amazing how easy it was to create an elegant, decorative throw basket with just a dollar store laundry basket, some jute rope, felt and a glue gun! See more step by step photos and material quantities sources on my blog here: http://lydioutloud.com/2016/09/15/diy-metallic-rope-throw-basket/
source:hometalk.com by Lydia Nordhoff – Lydi Out Loud