Back in the day, when I worked in an office, I had the pleasure of spending my workday with some pretty crafty people. Pinterest was just becoming popular then and I, and pretty much every crafter I knew at that time, were hooked on Pinterest. One of the first projects I ever shared was a Pinterest inspired tutorial for making easy photo canvas wall art – completed by my then coworker, Erica.
This craft project is incredibly easy. So it’s a lot of fun to complete together as a family project on a rainy day or a long weekend. Whether you’re eight or 108, this easy photo canvas wall art is so simple to do. Plus you’ll have a wonderful time digging through old photos and reminiscing over past vacations and birthday parties!
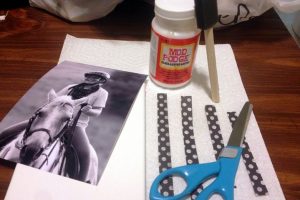
You’ll need a matte photo for this project. As well as Mod Podge, a blank art canvas, a foam brush, paint and decorative paper of your choice.
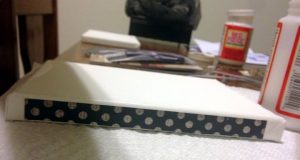
You can create a decorative edge, rather than a painted one, on your canvas if desired. Simply cut strips of decorative scrapbook paper to fit. Then glue the paper along the outside edges of the canvas using Mod Podge.
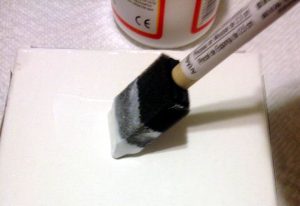
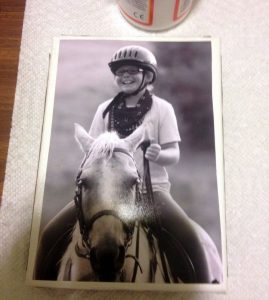
Now cut your photo to size so that it fits onto the canvas. Brush a layer of Mod Podge across the front side of the canvas.
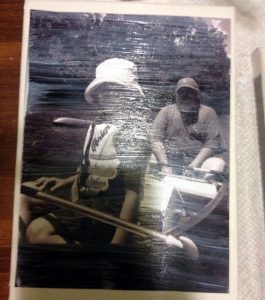
Then center the photograph onto the canvas. Press the photo, picture side up, onto the canvas into the Mod Podge.
Now brush a second layer of Mod Podge onto the photograph.
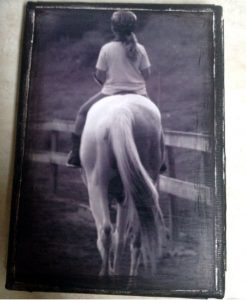
Once the Mod Podge dries, simply brush black paint (or another color of your choice) around the edges of the photograph. Do this on the sides of the blank canvas that had been left exposed as well.
Allow the paint to dry, then seal your photo canvas wall art with a clear acrylic sealer.
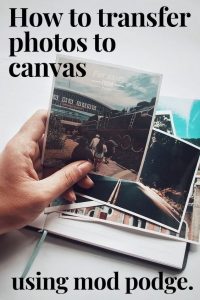
Once dry, your new photo canvas wall art is ready to display in your home! You can view the original step-by-step tutorial for this project on how to transfer photos to canvas with Mod Podge here. Or discover more easy craft project ideas for your home here.

