Let’s be honest here, projects do not always go as we have it pictured in our heads. In this tutorial we will see the agony of defeat and then the elation of success.
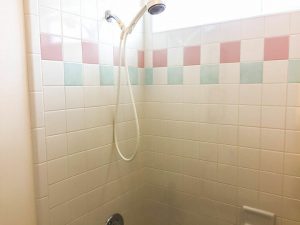
To start with, we didn’t want to spend a lot of money on this bathroom, but we knew the pink and green tile had to go. So we came up with this brilliant idea (or so we thought) to carefully remove the 2 rows of pink and green.
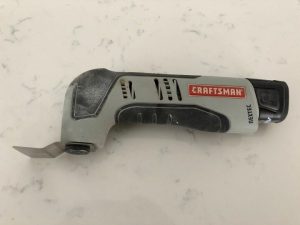
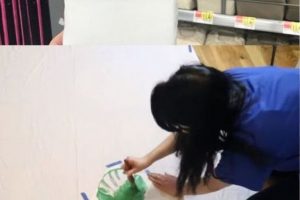
So equipped with a grout removal blade on the Craftsman multi-tool we proceeded to carefully remove all the grout around the 2 rows of tile. I then tapped each tile with a hammer to loosen them for removal.
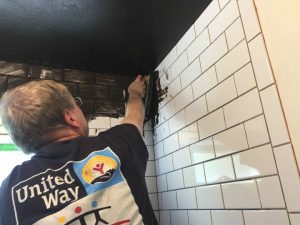
This portion of our idea was successful, what remained was this wire mesh that some sort of cement base that was about 1/2″ thick. This was removed with a hammer and chisel until only the mesh remained.
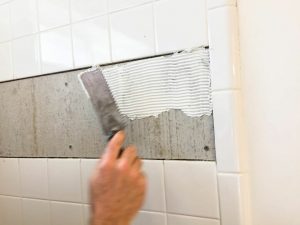
Next we attached 1/2″ thick tile backer board to the mesh that was on top of the dry wall. So far so good…
This was exciting, we were ready to adhere the tile. Using a notched trowel the tile adhesive was spread over the backer board the the glass mosaic penny tile was pressed into position.
So far so good, then this is where our idea took a turn for the worse. We decided that to make the shower more up to date we would remove all the grout between the 4 X 4 tiles and grout the entire shower with a charcoal grout. Once again using my trusty multi-tool I began to remove all the grout …. I soon learned that this was not such a great idea, not only was it very time consuming but it filled the room with dust. We could only bear to work on it for an hour at a time. I don’t remember exactly how long it took, but it seemed like 2 months.
Finally we grouted it, and it looked horrible. In the process of removing the grout we had chipped some of the tiles and at times the multi-tool would slip and scratch the surface of tiles and once it was grouted it showed every flaw. I was not a happy camper. This fail set me back about $75 (the tile I choose was on clearance.) But now what? The only remedy I could think of was start over … We removed the tile and drywall down to the studs and began again. I made sure this time we made a niche for the all the bathroom products, put up the water-resistant dry wall and then began to tile …
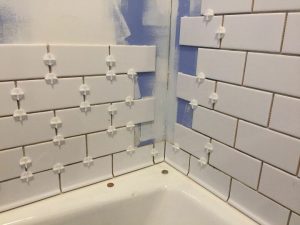
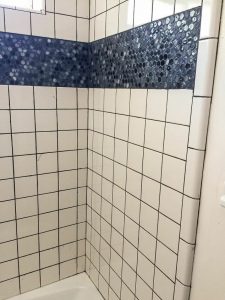
We did need to make one small adjustment as we tiled. The edge of the bathtub, where it would meet the tile had a lip on it that would prevent the tile from sitting flush on it. Luckily we were able to find a base tile that’s intended to be like a baseboard type tile where the wall tile meets the floor. It worked perfectly over the lip of the tub and we just cut it on an angle at the corners. We used 1/8″ spacers for all the tiles, I really wanted the charcoal grout line to stand out.
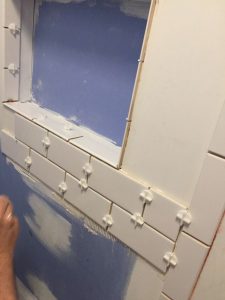
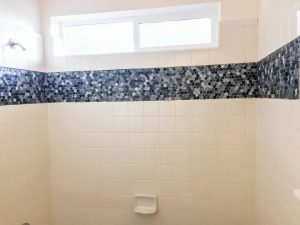
We used a rounded over tile for the edge of the shower niche and around the window seal area. In the corners of the niche we used pennies as tile spacers.
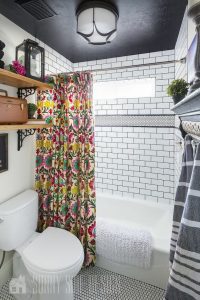
It took us about a week to complete all the tiling. We are not professionals for sure, but over all we are very please for the way it turned out.
Now for the grout … (this makes me smile) … This is definitely a 2 person job (at least for amateurs.) The grout is spread on with a rubber grout float, pressing the grout into space between the tiles. Then pull the float across the tiles going on a diagonal to remove and excess grout. Follow the directions on the packaging, I believe ours said to remove excess grout after about 20-30 minutes with a sponge. This is where its handy to have 2 people, one to apply the grout and one to remove the excess, this we were able to do in an evening. The following day using a clean cloth we buffed off the remaining haze. After the tile has cured for a few days a sealer was applied.
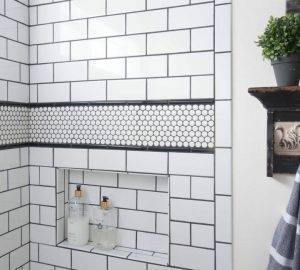
Yippy skippy, it’s finally finished and We LOVE the way it all turned out! If you would like to check out the full bathroom renovation please go to our website 2thesunnyside.com.
If you have loved what you have seen. Please check our our website!