

Do you find yourself having a cluttered space in the mornings when you’re getting ready for the day? This project is perfect for you–it will allow you to organize your sink/vanity area, so mornings are a breeze for to get ready! My sister-in-law, Brianna, needed an organization overhaul for the vanity in her bathroom and this cute floating shelf solved her problem while adding a touch of decor to her space. We want to help you DIY, so some of the materials in this post are linked to sellers. Just so you know, Hometalk may collect a small share of sales from the links on this page.
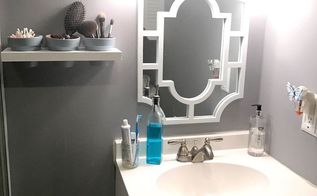
BEFORE: Bree didn’t have any shelving around her vanity to hold her beauty essentials, so her vanity ended up looking busy and cluttered.

SUPPLIES: -5/4×8′ common board (If your hardware store has something shorter than 8′ feel free to grab that! Unfortunately, the only length available at my Home Depot was 8′. -3 (4″) terra cotta pots -Dewalt 20v max drill -2 1/2″ TimberLOK screw -3/4″ paddle bit -3/16″ drill bit -3 5/8″ hole saw -countersink drill bit -Dewalt Right Angle Attachment -measuring tape -paint brush (There’s a 2″ brush in this photo but I ended up using a 1″ angled trim brush.) -Behr Premium Plus Interior Semi-Gloss Enamel Ultra Pure White Paint & Primer in One Not pictured: -fine grit sandpaper -Dewalt miter saw -Behr Premium Plus Ultra Interior Satin Enamel Stain-Blocking Paint & Primer in One (color: French Colony) -Irwin Quick Grip clamps (optional but recommended

STEP 1: Cut and sand wood First, I squared off the end of my board to ensure a nice, clean final piece of wood. Then, I measured in and marked at 15″, and cut at my mark.

Next, I knocked off the edges with a piece of fine grit sandpaper. Make sure to get the edges good–once the entire shelf was finished and up on the wall, I realized I could have done a better job at sanding the edges smooth.

STEP 2: Measure and mark for holes Once my wood piece was cut and sanded, I found the half way point of the board and marked in from the left at 2 3/4″ and also from the right at 2 3/4″, then at 7 1/2″ (the middle).

STEP 3: Clamp board to work surface (optional) This step is optional but highly recommended. I took two clamps and clamped the board to my work surface to ensure that it was stationary while I drilled the holes.
continue reading on next page (>)
source: hometalk.com

Related Articles:
-

Mom Tells Baby Girl “I Love You.” Internet Can’t Stop Laughing At Baby’s Comeback -
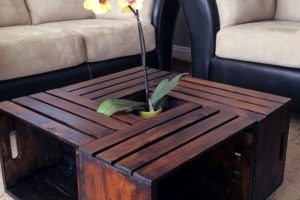
DIY Crate Coffee Table -
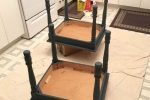
5 Steps to Outdated Furniture Re-design -

Scientists Have Found a Link between Narcissistic Abuse and Anxiety Disorders! -
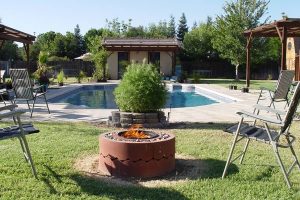
$50 Fire Pit Using Concrete Tree Rings -

Doctors Urge Parents To Save Their Kid’s Baby Teeth! Here’s Why!