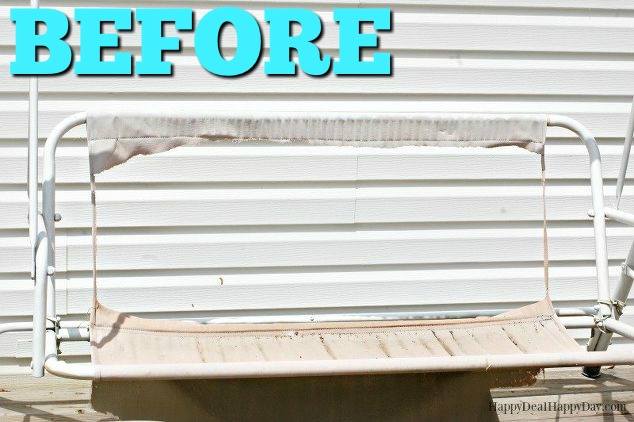
I then took the webbing and wrapped it vertically around both the back and seat and went back and forth all the way down the swing. A little over half way, I had to staple on a second strip of re-webbing to continue the weaving.

After I completed the vertical back and forth stringing of the webbing, I made a 90 degree turn with the webbing and started weaving it horizontally on the seat. I eventually needed to attach a third strand of webbing.

Again, I used staples to attach the strands and when I was at the very end of weaving, I wrapped the last strand around to itself and stapled the end (just like the very first attachment) Before I stapled that final strand, I made sure to pull the entire webbing as tight as I could! I started back at the beginning and re-pulled each row very tight to ensure the webbing was on as securely and as tightly as I could get it.

I did not weave horizontally for the back rest portion of the swing. You totally could, but since most of the weight is held on the seat, I didn’t think you need that extra webbing for the back, especially when it is covered by a cushion. Once I finished weaving and stapling, I then needed to replace the staples with a needle and upholstery thread.
I hand sewed two rows at each of the connecting places where there were staples. I used scissors to bend the staples and pull them out as I was sewing.
continue reading on next page (>)
source: happydealhappyday.com


