After the 4th burn, I was really questioning my sanity! WHY and HOW do I get myself into these things?!
I decided to start small for this project because I had no idea what I was doing. My supplies included: plastic cup for my mold, plastic wrap, hot glue gun and cord purchased at Hobby Lobby.
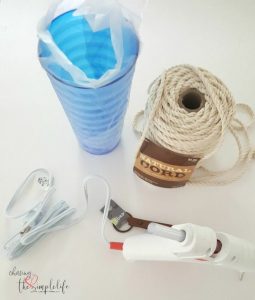
See those words “plastic wrap”??!! That was my huge mistake. I thought I was being clever by using Saran wrap around my plastic cup. I thought, “this will peel off easily and not stick to the glue.” HA HA HA…wrong!! The Saran wrap wouldn’t come off the plastic cup, the hubster had to smash the cup and then try to get the “basket” away from the Saran wrap. By the time that was all said and done, I had nothing but a pile of rope. Since I immediately threw it in the trash, there is no photo.
Take 2. I used parchment paper and kept moving the mold around every couple of turns. It worked and this was my result…
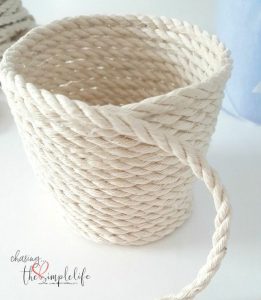
I would take the cup out, glue a few spins without the mold, then put it back in and continue. I decided to stop halfway up the cup mold, created a handle and added some paint on the bottom…
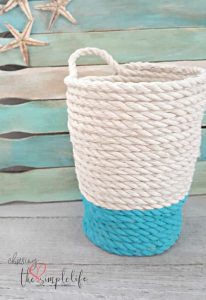
Note to self…paint causes smaller woven cord to shrink. I was ready to give up at this point and just settle for what I ended up with.
Take 3. I decided to go back and purchase the larger cord to see if I could actually do this challenge. I was going to use a rectangular mold but couldn’t get it started properly, so I changed to a round pot. I didn’t have to use parchment paper to protect the pot.
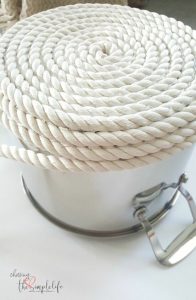
The cord was much sturdier and the glue rarely stuck to the pot along the way. Why would it? Most of it was stuck to my fingers…thus, 3rd degree burns on my fingers. pfft…
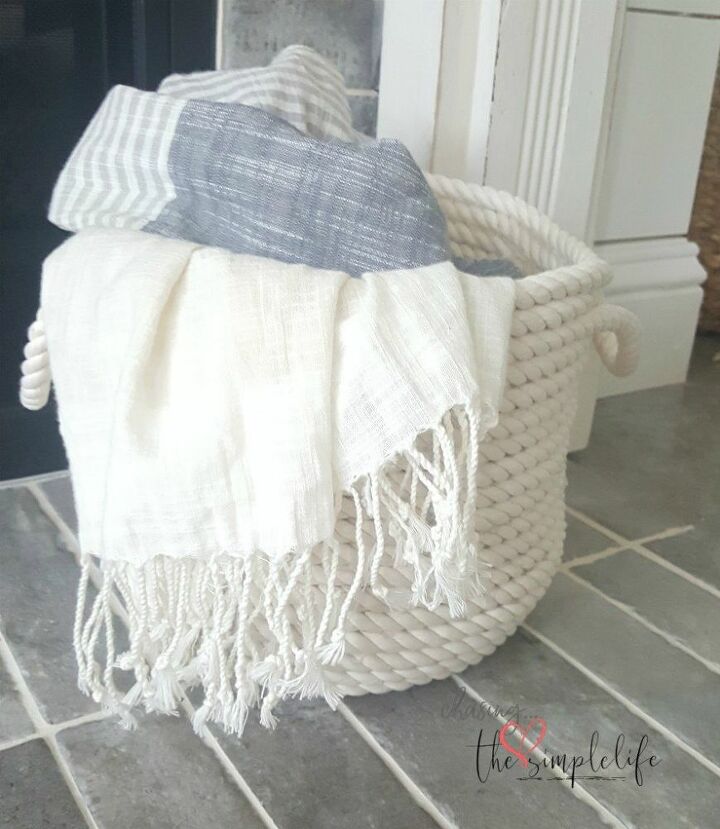
Finally, I could see a basket taking shape. I did the same as with the cup, I would remove the pot, glue a few turns without the mold, then put it back inside the basket for shape. I created my handles and finished with this…
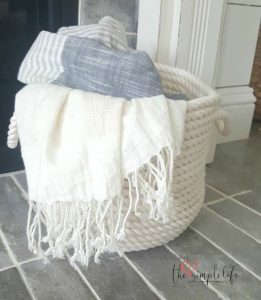
Please head over to my blog for more photos and additional information on this project! Thanks so much!

