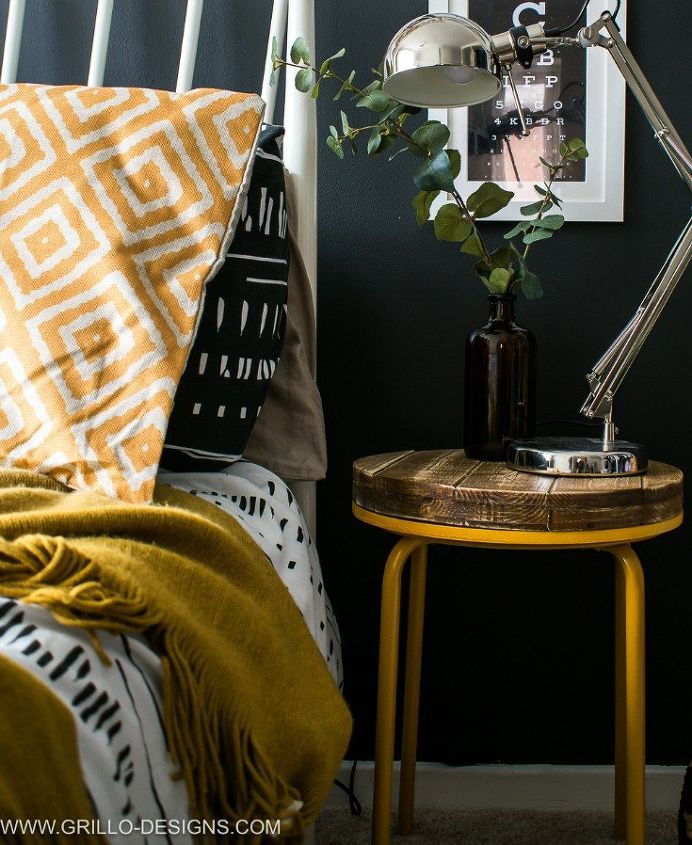

I’ve started decorating my bedroom – but like a lot of European homes, space was an issue. I really wanted some bedside tables (you know, for all the useless junk we liked to store within arms reach of our bed), but I knew I needed to keep it small and compact .
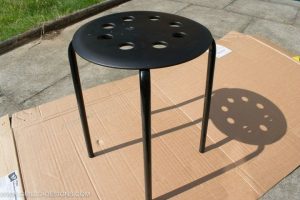
The IKEA STOOl seemed like the perfect starting point for the industrial side table I had always wanted, and at a whopping £3, I was saving quite a few pennies
What’s the deal with all the IKEA hacks, you ask? God, I wish I knew.. I don’t even realise I’m doing it anymore.
-Hard wood timber W 8.9cm L 240cm T 3.8cm (2′ x 4′)
-Ikea stool
MDF wood.
Spray paint
Primer
Spray on varnish (poly)
MDF wood (of at least 1cm thickness)
Gorilla glue (or DAP glue)
TOOLS NEEDED:
A POWER ROUTER
Jigsaw –
HOW TO:
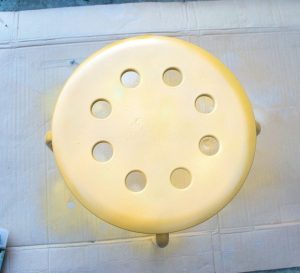
I painted the stool yellow with the spray paint
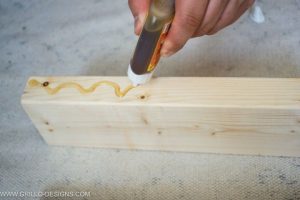
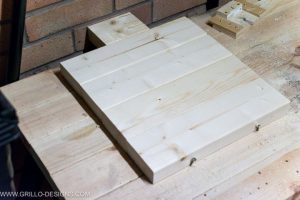
Making the wooden top was slightly more complicated because I really wanted a chunky slatted top similar to the design I had created for my rustic BENCH a few years ago. To do this:
With a jigsaw, I sawed the wood into 5 lengths and then glued together.
. Next, using the top of the IKEA stool as an outline, draw a circle with a pencil. Then you need to cut out that circle. The drawing part was a piece of cake, the cutting, on the other hand, was a nightmare!
2. . Next, using the top of the IKEA stool as an outline, draw a circle with a pencil. Then you need to cut out that circle. We initially attempted this with a jigsaw but it was a HUGE FAIL! You can find out why and see some shocking pictures at link below
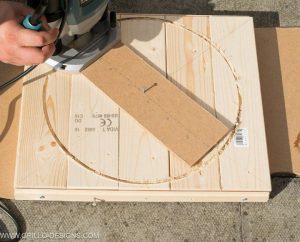
3. Our next step was using a power router which worked perfectly!
All that was left to do was sand and stain and voila!
What do you think?

You can see more pictures of my bedroom by heading to the link below!
source:hometalk.com by Medina at Grillo Designs