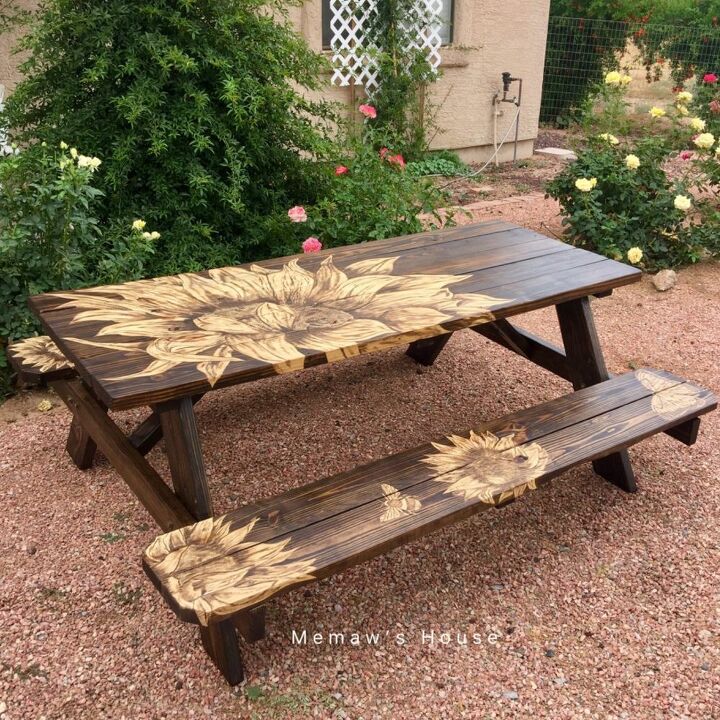

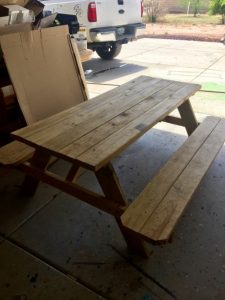
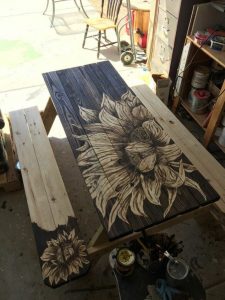
Hello Summer! Warm Weather and sitting outdoors enjoying company is the best! So I have to head into town to get my yard pretty! I was at my local Lowe’s scouting out flowers and picking up supplies when I ran across a 6ft preassembled pine picnic table. All I could see was a blank canvas. I wanted to create something that would be a great conversation piece, something that people would automatically ask, “where did you get that”?
Here it is. It’s 6ft long and 59in wide. I sanded the whole table. The top and underneath, everything to make sure all splinters and such were gone. I sanded with an orbital sander and used 60grit all over and then finished the table and top seats with 150 grit I used Miniwax, espresso wipe on stain.
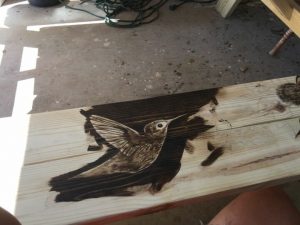
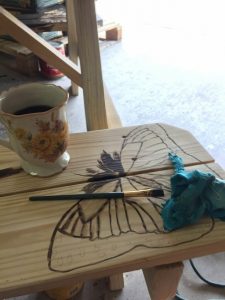
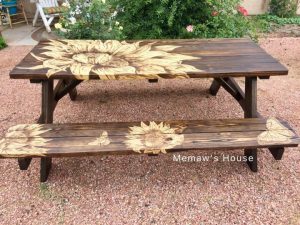
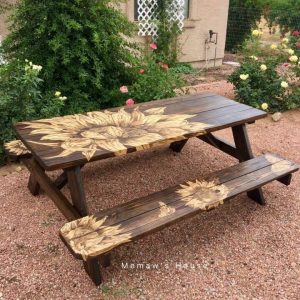
My plan was to draw a sunflower on the top and some sunflowers with butterflies, bees and a hummingbird on the benches.
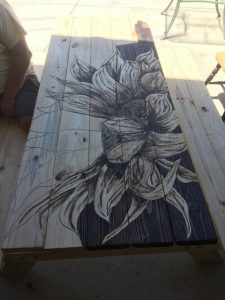
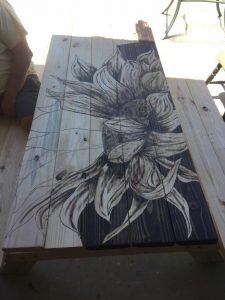
I use stain like someone would use paint to create my images on things. I use a pencil to draw what I want on and then I use stain and a brush or sometimes just my finger wrapped in a soft cloth. I do not use stencils.
The top is done. I go over the image two times to make sure there is a stark contrast between the stain and the raw wood.
I like to start from the inner part of the image and work my way out. When doing this process you use very little stain.
You can see how small my brush is. I like to use flat thin brushes. I go thru a lot of them, since wood is my canvas it really wears them down quickly. As you can see here I outlined the image and then work myself outward . When applying the stain you dip the brush, tap it off, wipe it on a cloth then apply the stain. You then go back over the image and shade areas to create detail.

Here is the bee.
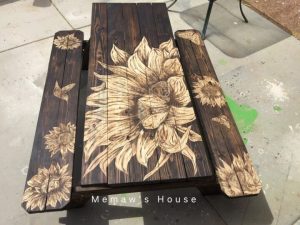
I used Pro Finisher Polyurethane quick dry formula to seal every nook and cranny of this piece.
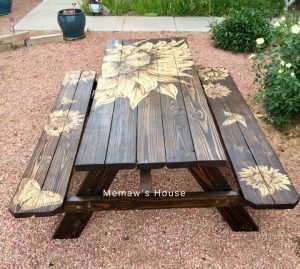
It’ s all done and I am very impressed with how sturdy this table is, it’s all 2×6 construction and was well worth the price for me.
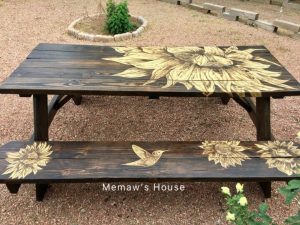
Hummingbird side view
Bee and butterfly side view
I am in love with this!!! I am now designing another, I just have to choose a theme! If you would like to see more of my work please visit my page at www.facebook.com/memawslovelyglass.