I love little decorative bowls with different textures, and lots of character! This easy bowl was made with just some burlap, and a satin finish Polyurethane! So easy!
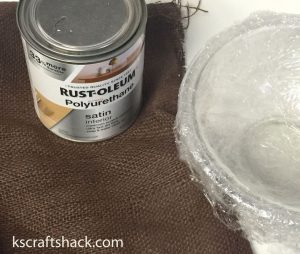
This is all it takes! Just a sturdy bowl about the shape and size you want your decorative bowl to be, covered in plastic wrap. Some burlap, I used brown burlap. And some polyurethane.
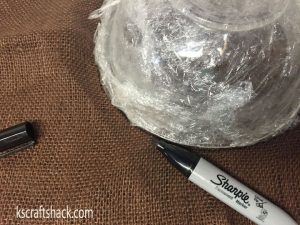
Trace the bowl onto the burlap and cut out the circle that will become your bowl.
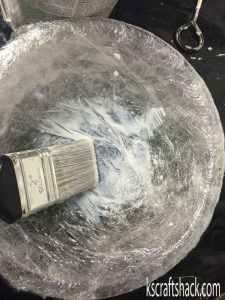
spread some polyurethane inside the plastic wrapped bowl and place your burlap circle inside.
spread the polyurethane out evenly, and smooth out the burlap, then just let it dry!
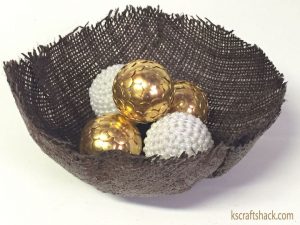
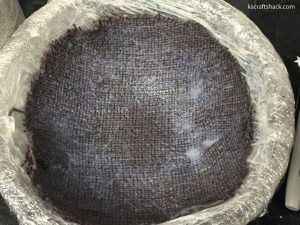
It came out wonderfully stiff, it holds up really great! And because I used a satin finish polyurethane rather than a gloss finish, the bowl doesn’t have too much shine, it looks more natural like the burlap should! And no more fraying!
For more in depth details, and a tutorial on how to make those awesome balls inside the bowl, visit the blog link below!
For more in depth details, and a tutorial on how to make those awesome balls inside the bowl, visit the blog link below!
source:hometalk.com by Kelli @CraftShackChronicles