
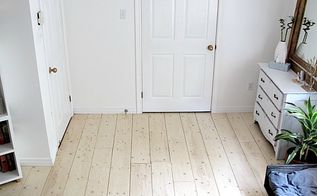

Last year we ripped up the carpet in our bedroom and laid plywood planks as a “filler” floor until we could afford hardwoods. They turned out so well, we might actually keep them for the long haul!

I used my compact circular saw to rip each sheet into six 8″ planks. Once I had the first plank cut, I used the straight edge from that one as my guide (clamping it down on the board I was ripping) and it worked really well for the most part. It took me about 3.5 hours to do all 10 sheets of plywood, and though not perfect, the lines were pretty straight.

After the sheets were all ripped and stacked, it was time to begin the arduous task of sanding. It took me about 10-15 minutes per board to get them as smooth as I wanted. I don’t want any feet getting splinters, so they needed to be smooth as silk. (Ergo, all the sanding.) It really took all that nasty yellow, rough, plywood-y looking surface off the planks and transformed them into wide pine boards. This step takes time and is a lot of work, but trust me it is so worth it to put in the extra effort here. Make sure you also bevel the edges of your planks with the sander to take down the harsh/splintery cut edges.

I pulled up the carpet with some pliers starting in a corner and just kind of went from there, rolling it all into a pile in the middle of the room. It came up a lot easier than I had anticipated, but to get it out of there I had to cut it into three smaller strips with my utility knife and roll it up that way. (These two really didn’t want to let go of their beloved carpet!) Next the nasty foam underlay came out, and I also had to pry up all of the tack strips the carpet had been attached to around the perimeter of the room. The final step in this process was to remove all of the staples from the floor. I used pliers, and also my screwdriver when needed.

Make sure you start on a wall that is as square as humanly possible; otherwise your boards will become janky and crooked. After laying the first row, you just kind of go from there, laying another row then another then another. I did not use liquid nails or any type of adhesive in case we ever want to replace these floors.
continue reading on next page (>)
source: hometalk.com

Related Articles:
-

Did You Know That Lemon Peels Can Eliminate Your Joint Pain Once And For All? -

The 3-Day Soup Cleanse: Eat as Much Soup as You Want And Fight Inflammation, Belly Fat And Disease -
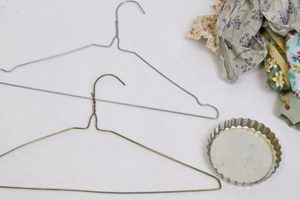
10 impressive ways to upcycle coat hangers -

10 Traits of Someone With True Integrity -

7 Things You Should Never Say to Your Children -

Slow Cooker Pineapple Spoon Cake