
 I let the stain dry for a full 24 hours before adding the first coat of finish. I used Minwax Ultimate Floor Finish because it claims it will never amber over time, making it ideal over light stains. I used satin because I wanted a matte finish, but it comes in gloss and semi-gloss as well.

Aside from claiming it dries (and stays) crystal clear, some other perks of this finish are that it’s soap and water clean up, low odour, you can re-coat in two hours, and no sanding between coats is required. Also, the directions state if you’re applying the finish over stain, only two coats are necessary. (I did three just because I wanted the extra protection.) I applied the finish the same way I did the stain, using a fresh Shur-Line applicator, starting in the closet and then going from one side of the room to the other. I did three coats total, sanding between the second and final coat.

After the floors were finished, I painted the walls and trim a nice, fresh white (it’s called Polar Bear, by Behr).

After a week and a half of hard work (plus a month of sanding!), the room was finally finished and I could not have been happier with how it turned out. The floors ended up costing us about $1.27 per square foot, including the stain and finish. You can visit my blog, www.sharktails.ca, for more images and instructions on how to lay down plywood in your own home. I also have an update on how they are holding up after one year: http://sharktails.ca/2017/04/02/plywood-floors-update-faqs-durability-update/ !
Materials I used for this project:
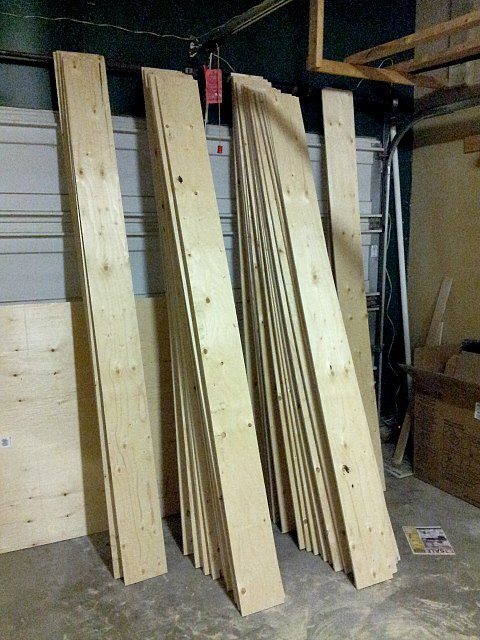
3/8″ Spruce Plywood
Brad nailer and 2″ brad nails
Random orbit sander and 80, 120 grit pads
Compact circular saw (or table saw)
Miter Saw
Measuring tape, hammer, carpenter’s pencil
Stain and clear coat
Staining Pad
To see more: http://sharktails.ca/2016/04/22/newbies-guide-plywood-plank-flooring-part-1-prepping-laying-boards/