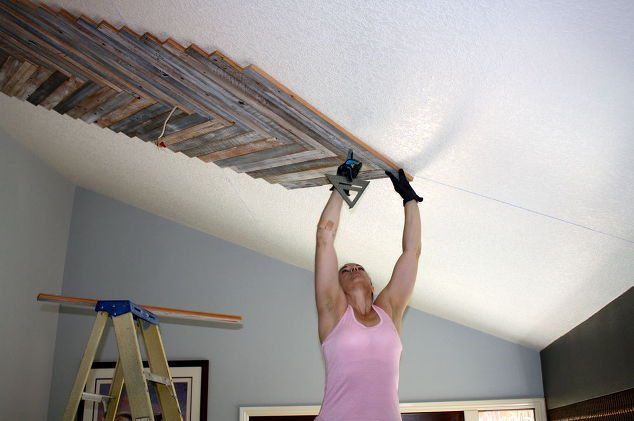
100-year-old reclaimed wood that was actually milled for flooring. I did all of the prep work in batches since I could lay out the wood all at once in the garage to paint.

Lining them up to stain and paint.

They were already T&G when we got them. The tongue had to be cut off on every single one! I would pick random boards from the pile.
Hub had to remove all of the tongues by ripping them. A jig was set on the saw to make sure every piece was the same length.

First row. Mark your center and measure off a 45 degree angle to start the 1st board.
I’ve since learned that doing a herringbone requires you to be sure your joints all meet properly. In other words, if you laid a sting right down the middle, all of your joints should line up perfectly with the tip of the first board

Use a speed square as go to make sure each board is lined up properly.

Hub used a combo of small nails after I dabbed each one with Liquid Nails.
Once we got to border-end pieces, each one had to be cut separately. Hub stayed up on the ladder and called out the measurement and I cut the wood on the miter saw! There were a lot of cuts and measuring!
Continue Reading on Next Page (>)


