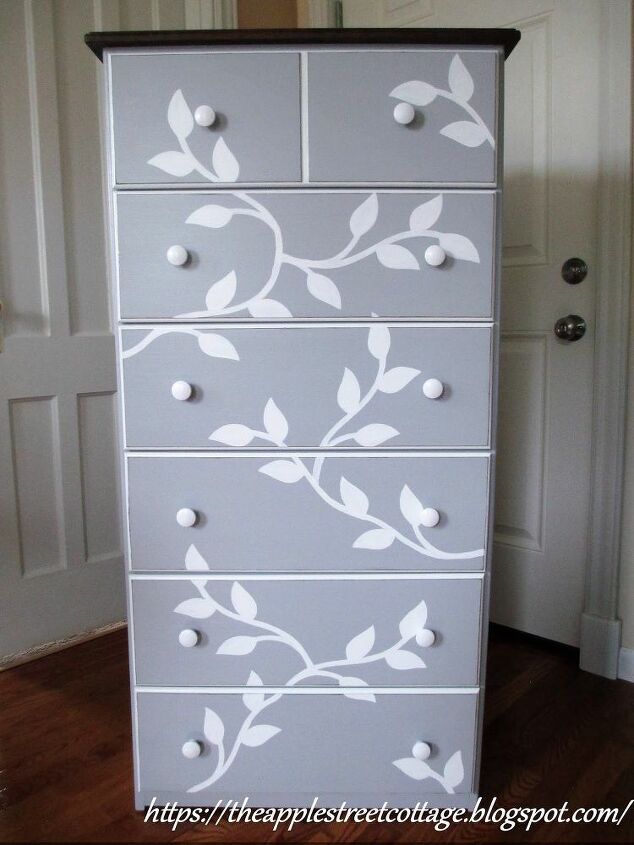
We sold the Cottage and moved. Did I mention that our buyer also bought most of our furniture? Yes, she did, and we were in dire need of someplace to put our clothes. After much discussion, the decision was made to buy an unfinished piece for me to finish. Since the new place is small, we started out with one unfinished chest of drawers. Check out the before pic on my blog. I forgot to take a photo of it and had to use a stock photo, that won’t post here.
The top was stained with dark walnut stain, followed up with 3 coats of satin polycrylic.
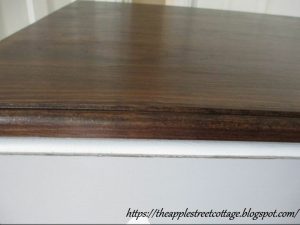
Once the top was done, I primed and then painted the dresser in Silver Lining Chalk Paint. Before I started the drawers, I brushed some walnut stain on those edges so it would show through after distressing. You can see what I mean in the picture above. The drawers were painted with chalk paint as well, White and Silver Lining. At this point, it was looking pretty plain:
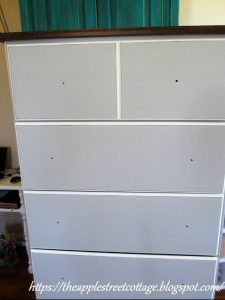
A stencil was needed, but there were 2 problems:
1 – I couldn’t find one I liked.
2 – They were EXPENSIVE! Have you priced stencils lately??
Since I’m a problem-solver – HaHa!! I got out my Cricut and found a vine I liked. Hit ‘cut to page’ 2 times and this is what I got:
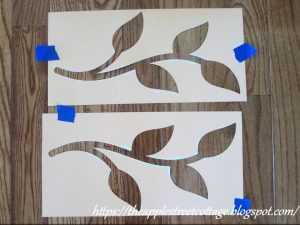
Starting with the bottom drawer, I did a lot of playing with the pieces before I got out the paint. Since the stencil was just cardstock, I used the stencil more as a guide and hand-painted the vine. Just a note….the drawers were removed from the dresser and placed in order on the floor for stenciling.
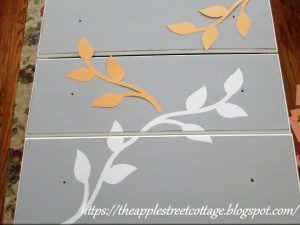
Once the stenciling was done, 3 coats of polycrylic were applied to each drawer. The knobs were spray-painted white and the dresser was reassembled!
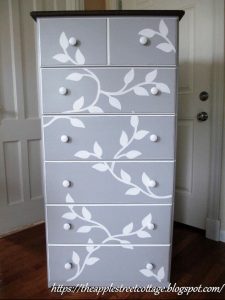
I especially love that the stencil didn’t cost me a dime. If you’d like to see a close-up of it, stop by my blog.

