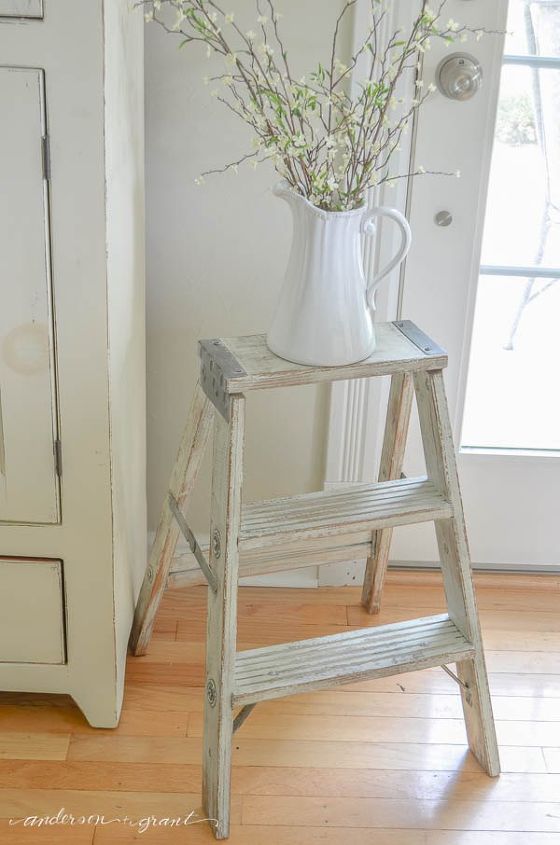
I picked up an old step ladder at an antique shop and it was just screaming for a distressed paint finish. To achieve this finish, I used four different “techniques,” although I hate to call them that because each step was so simple. They really all worked together to give an extremely distressed look, though.

My beautifully distressed step-ladder….after.
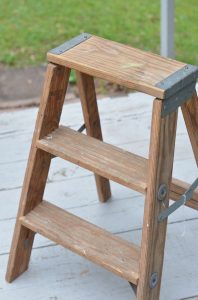
My beautiful ladder….before.
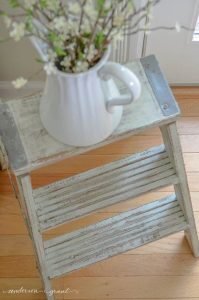
Start by rubbing clear candle waxover areas that you want the paint to chip away easily. Focus on areas like the edges of your furniture or bottoms of the feet where paint would naturally be worn away on an old piece. I also like to add some wax in sections were there in a gouge in the wood or where the grain is raised.
The wax creates a resist and protects the surface underneath from being sanded away, while not allowing the paint you add on top to stick.
The wax creates a resist and protects the surface underneath from being sanded away, while not allowing the paint you add on top to stick.

Apply your paint in a really sloppy way. Don’t worry about painting each and every spot on the piece of furniture. Places that are left bare will look like areas where the paint has totally worn away when you’re done. Do be sure to paint places that wouldn’t naturally distress so that it doesn’t end up looking like you skipped that spot!
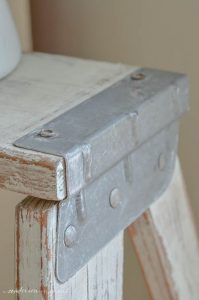
Apply one coat of paint over the entire piece. But when that coat is dry, go back in small random places and add a second coat. When everything is being sanded, those areas will distress less, making the finish look more worn in some places than others.
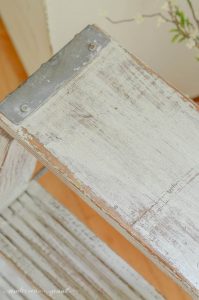
When both coats of paint are dry, go over the entire piece with a heavy 80 grit sandpaper. It has a lot of texture to it and will sand away paint easily. Sand over every area to blend in what you’ve done to make it all look natural.
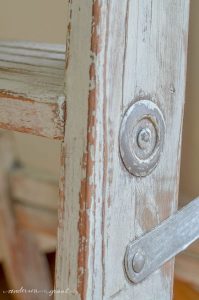
And as a little bonus tip…..I painted right over the metal accents on this ladder and then sanded them when I distressed the paint. I love the patina that it leaves.

