Then, you’ll cut a small rectangle out of the top piece that measure about 2 1/4 x 1/3 inch. (You can adjust this to whatever dimensions you’d like and it will still turn out great.)

Then, cut 1/4 inch slits at a diagonal from each corner of this rectangle.

Then fold these flaps to the underneath side and pin into place.

Sew all the way around the inner edge of the rectangle to keep the flaps in place.

Then sew all of your side pieces together along the 6 inch side, with right sides together.
Then, clip little 1/4 x 1/4 inch squares out of each corner of your top piece.

Now, you’ll pin your top piece to your side piece, with right sides together. Fold the little square opening together at the sides, creating a square corner as you pin. Do this to all 4 corners and sew into place.

Now, turn the cover right side out and fold the bottom edge under a 1/4 inch and then another 1/4 inch and sew into place (adjust or trim if you need to before folding bottom edge under).
Iron as best you can to make your edges sharp and crisp.
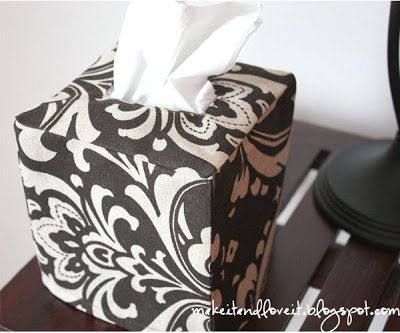
Slide over your tissue box and proudly display your little creation!

Source: http://www.makeit-loveit.com/2009/04/tissue-box-cover.html


