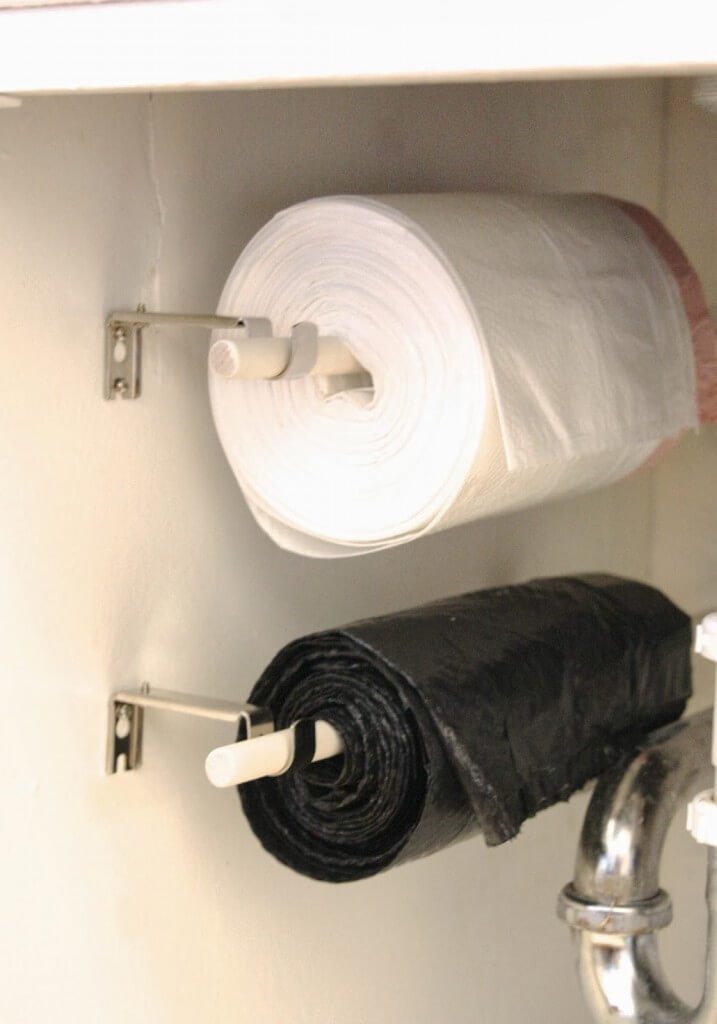
Now that the brackets are hanging, time to insert the dowels through the trash bag rolls…


Yes, this is the one step that requires some patience…just a little. As you’re pushing the dowel through the middle, a couple bags will come out the other end. No biggie! Just pop those into the bottom of your trash can, under the bag you’re currently using. Just takes a little patience, but I promise you – the dowel will go through (as pictured) and they will hang beautifully!
Once that’s done, all you have to do is set the dowel inside the brackets…

I placed each set about 13″ apart. I wanted a little overhang to ensure the dowels wouldn’t bend. And they don’t. This is super secure and beyond easy to grab a trash bag right from the roll. Even though this space is tight, you can see there is still plenty of room under the rolls…

For just a few bucks and about an hour of time (that includes paint dry time) you have organized trash bags on a roll!
Love this!…
Tomorrow I’ll be sharing the full kitchen sink organization tour so make sure to come back!
Go DIY something and have a great day!


