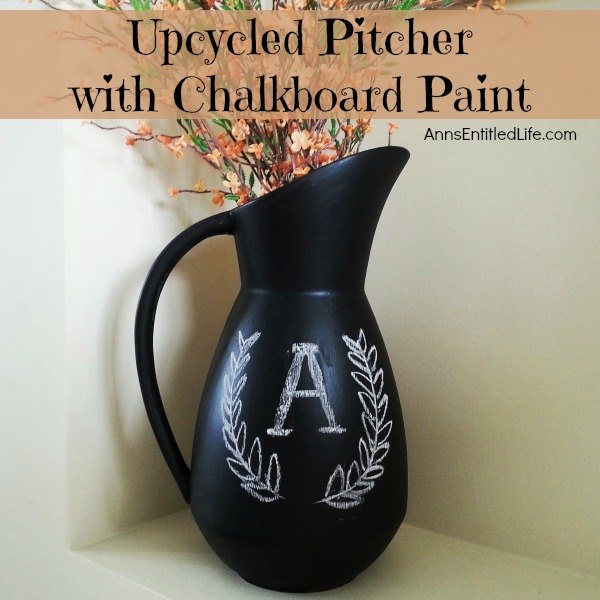
Upcycle old ceramic pitchers, jars, vases and more with chalkboard paint for fun, and versatile décor! This easy step by step tutorial will show you how to make fabulous upcycled art with chalkboard paint very inexpensively.
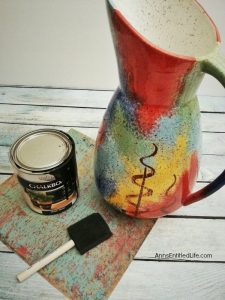
Note: this project did not require priming. If you feel you would like to prime before using chalkboard paint, use a latex primer. Allow your latex primer to dry for a minimum of 2 hours before applying chalkboard paint.
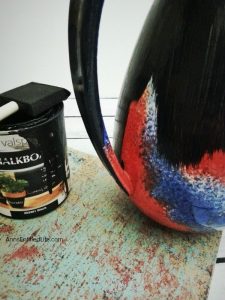
Using a foam brush (you can use a regular paintbrush if you like, just be hyper-aware of brush marks), paint the chalkboard paint onto the pitcher using even strokes. Make sure to apply uniformly, no drips or marks. Make sure you overlap all your brush strokes to reduce the chance of brushstrokes or marks.
Make sure to paint the spout and handle!
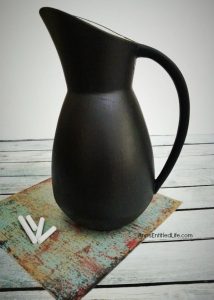
Apply three coats of chalkboard paint. Allow to dry for a minimum of 4 hours between coats (overnight would be better). If you need more than three coats for coverage, that is fine. Sometimes the use of a latex primer – especially a tinted latex primer – should be considered. Usually with a primer, three coats of chalkboard paint is enough.
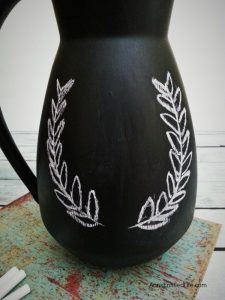
Allow your pitcher to dry completely before chalking.
The chalk design on this pitcher is simple:
Draw a horseshoe shape with a break in the middle on the bottom.
Then, draw small leaf shapes on the inside and outside of the line.
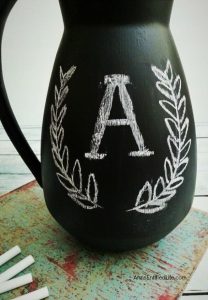
Fill in the horseshoe shape with a simple letter, making it thicker and adding perpendicular lines on the “ends” of the letter.
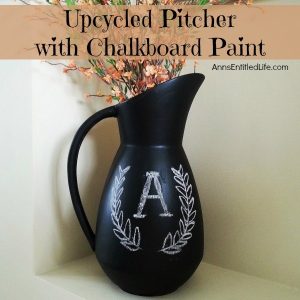
You can draw anything onto the pitcher, it doesn’t have to be letters or horseshoes, and the chalk does not have to be white!
Draw what works with your home decor, your children’s rooms, your outdoor patio, etc. Draw what fits your lifestyle, area, and personal preference!

