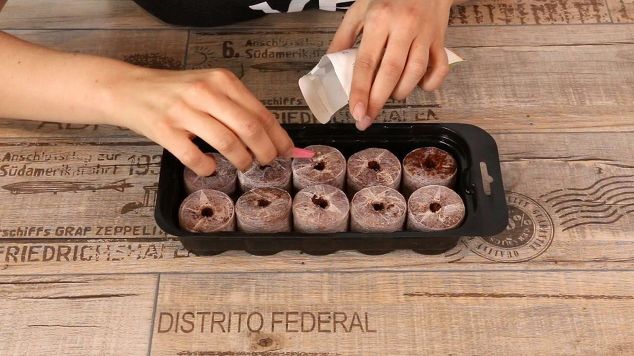
In order to ensure that I had a plant in each pod, I put two seeds in each one (because sometimes they fail). But these seeds are such good quality that every single tomato seed I put in the pod sprouted, and I’ve got to thin them out a little. For a fun video on tomato plants click here. And here’s another fun, short video on whether your tomatoes are determinate or indeterminate (ours are indeterminate).

Next, I hung up the grow bag. These bags are made from felt and recycled plastic, and they have great drainage. The backing keeps them from getting the wall wet, but if you overwater them, they’ll drip on whatever is underneath — so take care when picking a spot. It’s best to find a place where the bag can drip a little underneath and that it gets an appropriate amount of sun for what you’re growing.
To hang up the grow bag, you can use screws in the wall. But if you can’t make holes in the wall, then you can use command hooks. Alternatively, you can hang the bag in a pole or rod.
Our kit boxes are compostable. But instead of adding them to my compost bin, I’m going to plant my other seedlings in there and use it as a starter pot. If you’re doing this too, remember to pull off the shipping label or rip off the top (or the whole top flap off). The shipping label doesn’t use vegetable-based ink, so its not good for your soil or compost bin. All the other stickers included in the kit are fine.

Then, I added enough dirt to the pockets of my bag so that they were almost full, and I tucked my tomato plant inside. I then covered the pod with a little bit of dirt. The pod will totally biodegrade and become great food for the plant — so need to worry about taking him out! How cool is that???

I’m crazy about how great it looks here! And I’m excited to have fresh herbs and tomatoes to add to my salads at work!!
source: hometalk.com


