Step #4 – Top Coat.
After you’ve given it a couple of days to dry (cure), topcoat with Polyvine Dead Flat. Lightly sand in-between coats with 400 grit sandpaper to remove any dust particles. I like to use a sanding sponge. I applied 4 coats using a damp auto detailer’s sponge.

Step #5 – Add New Hardware.
It’s nearly always a good move to replace the hardware. It’s the icing on the cake. These came from Hobby Lobby – a good replacement for the old colonial brass. Quite often the hardware from Hobby Lobby is irregular and you’ll have to hunt down screws if they don’t come with. ACE Hardware is our usual go to for such things.

This Was an Easy One.
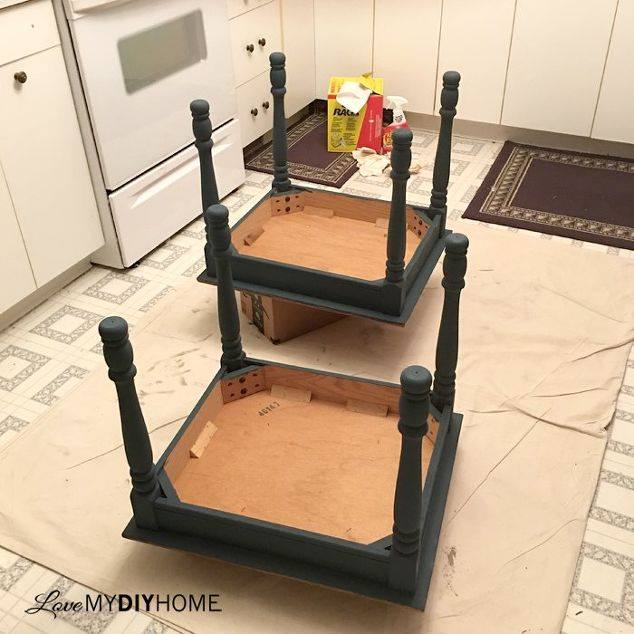
Ava and Elsa were one of my easiest flips. You can find these type of tables everywhere. Since they are very dated, people get tired of them and sell them in garage sales quite cheap. Many just toss them and buy new.
To read the entire tutorial, visit Love My DIY Home. You will find links to the products mentioned and more photos of the finished project.
LMDH offers FB groups, newsletters, free word art and many DIY projects. Come join our community and get your questions answered and enjoy tons of inspiration. Click the link below!
Materials I used for this project:
Chalk paint (Pure and Original)
Top coat (Polyvine)
To see more: http://lovemydiyhome.com/end-tables-restyled-inspiration-collection-2017/

