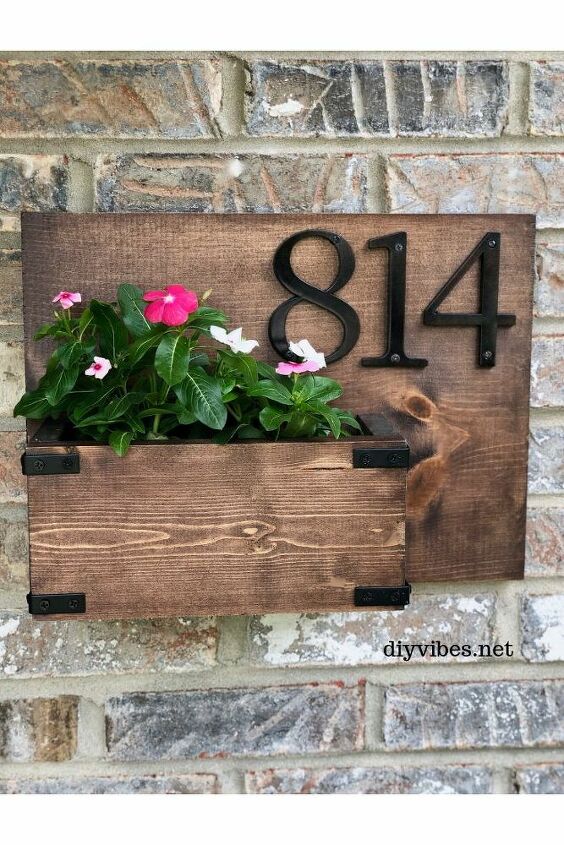

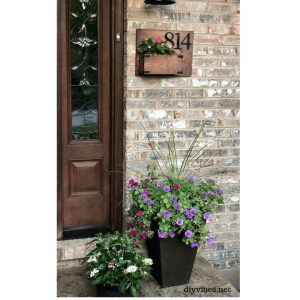
You can add a lot of curb appeal to your home with this DIY house number planter. Switching out the flowers to reflect the season will create a warm welcome for your guests.
What you’ll need for a DIY house number planter:
- 1 x 12 x 4 board (shortest I could find)–this will be the base
- (1) 1″ x 6″ and (1) 1″ x 4″ (you’ll use less than 2′ so get shorter boards)
- house numbers
- measuring tape/pencil
- sandpaper
- wood conditioner/stain
- wood glue
- polyurethane
- hammer and nails (I also used a brad nailer)
- flowers
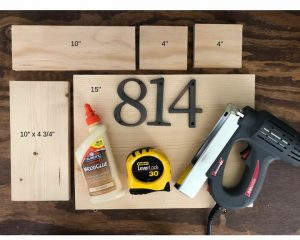
I started making my house number sign by cutting the 1 x 12 to measure 15″ for my base.
To cut the wood for the box, I made two 4″ cuts and a 10″ cut from the 1 x 4. I also cut 10 inches of the 1 x 6, then sliced 3/4″ off the width to make it match up with the other pieces once the box was assembled.

I always sand my wood before staining and wipe it down with a clean, lint free cloth. This gives me a smooth surface, rough surfaces can take in more stain giving a blotchy look.
Wood conditioner is a MUST for even staining. I applied this on the wood first.
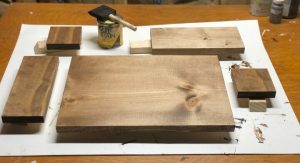
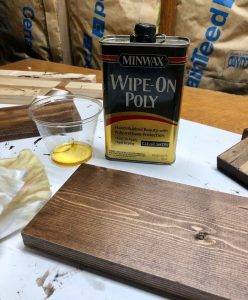
When completely dried, I used 2 coats of hickory. It was still too light once I looked at it in the sun, so I decided to put on a coat of chestnut and followed up with two coats of polyurethane.
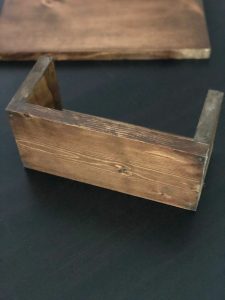
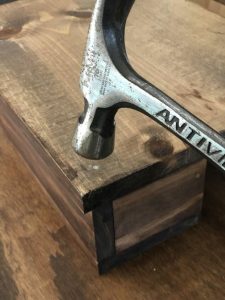
To assemble the box I bookended the 10″ piece with the two 4″ pieces I cut from the 1 x 4. I applied wood glue and nailed them together.
Then I glued and nailed the last panel (biggest) which became the front piece.
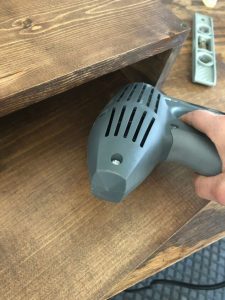
To attach it to the base, I used a brad nailer to “hold” it in place then turned it around to mark on the back where the box was on the front.
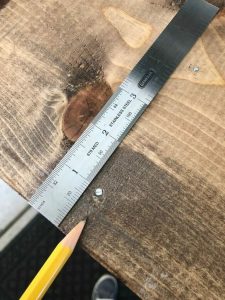
Use a measuring tape and a pencil so you know where to put your nails. I put a nail into every corner of the box from the back.
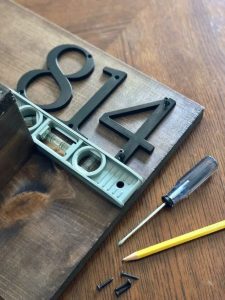
I used a straight line to attach the numbers.

For a pop of personality, I added 1-1/2 inch brackets I found in the hardware department at Home Depot.
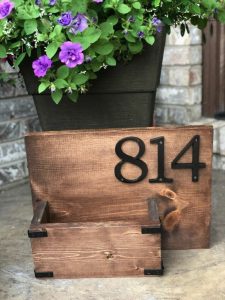
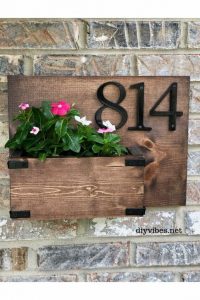
Here’s the finished product. I nailed a sawtooth hanger onto the back and hung it to an anchored screw I drilled into the mortar of my brick wall.
source:hometalk.com by Pamela Hallissey