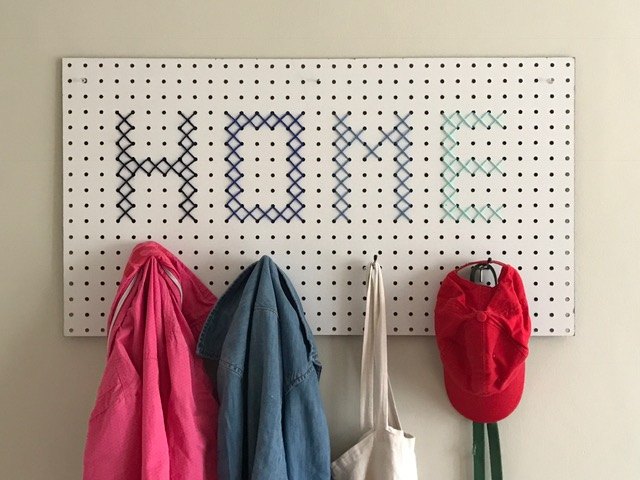
Calling all cross stichers! This project is MADE for you, and even if you have never tried cross stitch before, then this is the time to start. Have you ever thought about using a pegboard as a supersized base before? You can create virtually any word and in any colorway that you would like. Once you’ve completed the word, apply a few simple hooks and there you have it – your own enormous cross stitched wall coat hanger. Budget-friendly, functional, custom and trendy. Does it get any better than that?!
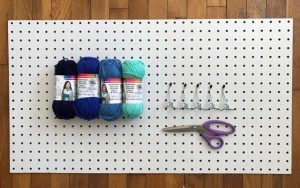
SUPPLIES:
– Pegbard (cut to the size of your choice)
– Yarn
– Pegboard Hooks
– Tape (optional)
– Scissors
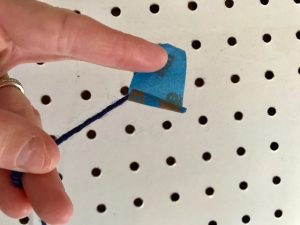
Step 1: Prepare your yarn, by wrapping the end with tape. I used painters tape to create a stiffer end to make threading easier. This is completely optional, but sure does speed things up!
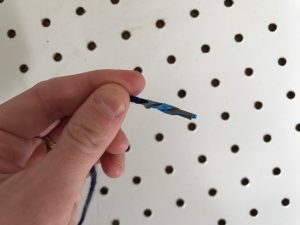
This is completely optional, but sure does speed things up!
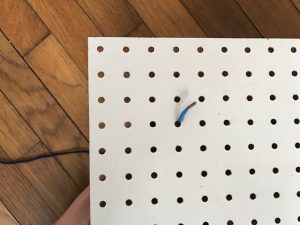
Step 1: Pull your yarn through the first hole from the bottom to the top side.
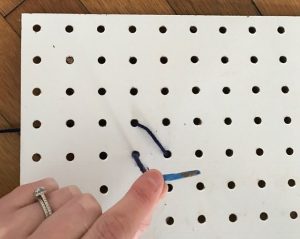
Step 2: Thread your yarn through the next hole, directly across from it on an angle. Repeat these steps until you have formed an ‘X’ shape.
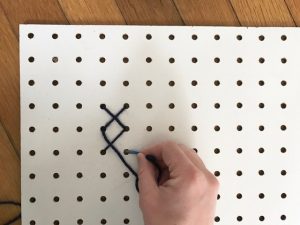
Step 3: Continue creating ‘X’s until your first letter is completely formed.
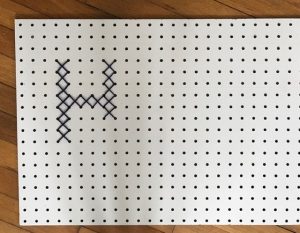
My letter ‘H’ is almost complete!
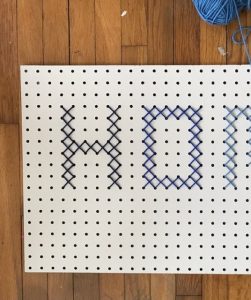
The rest of my letters are almost done too. Can you guess what word I’m using? I’ve also opted to use an ombre colorway in various shades of blue.
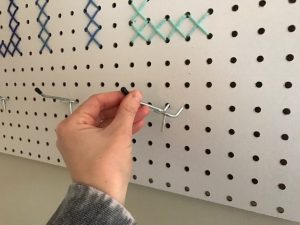
Step 4: Add your wall hooks.
Once your word is complete, add your pegboard hooks. Add a little or a lot! The possibilities are endless.
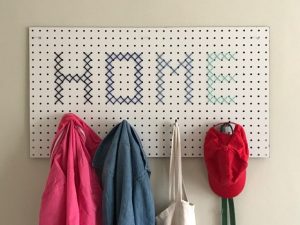
Did you guess the word ‘Home’? I wanted to use a word that was simple and fitting for our entryway. It’s to the point and extremely functional!

